I stumbled upon this Hardware Haven video about the Zimaboard recently.
I liked it a lot.
I finally bought one.
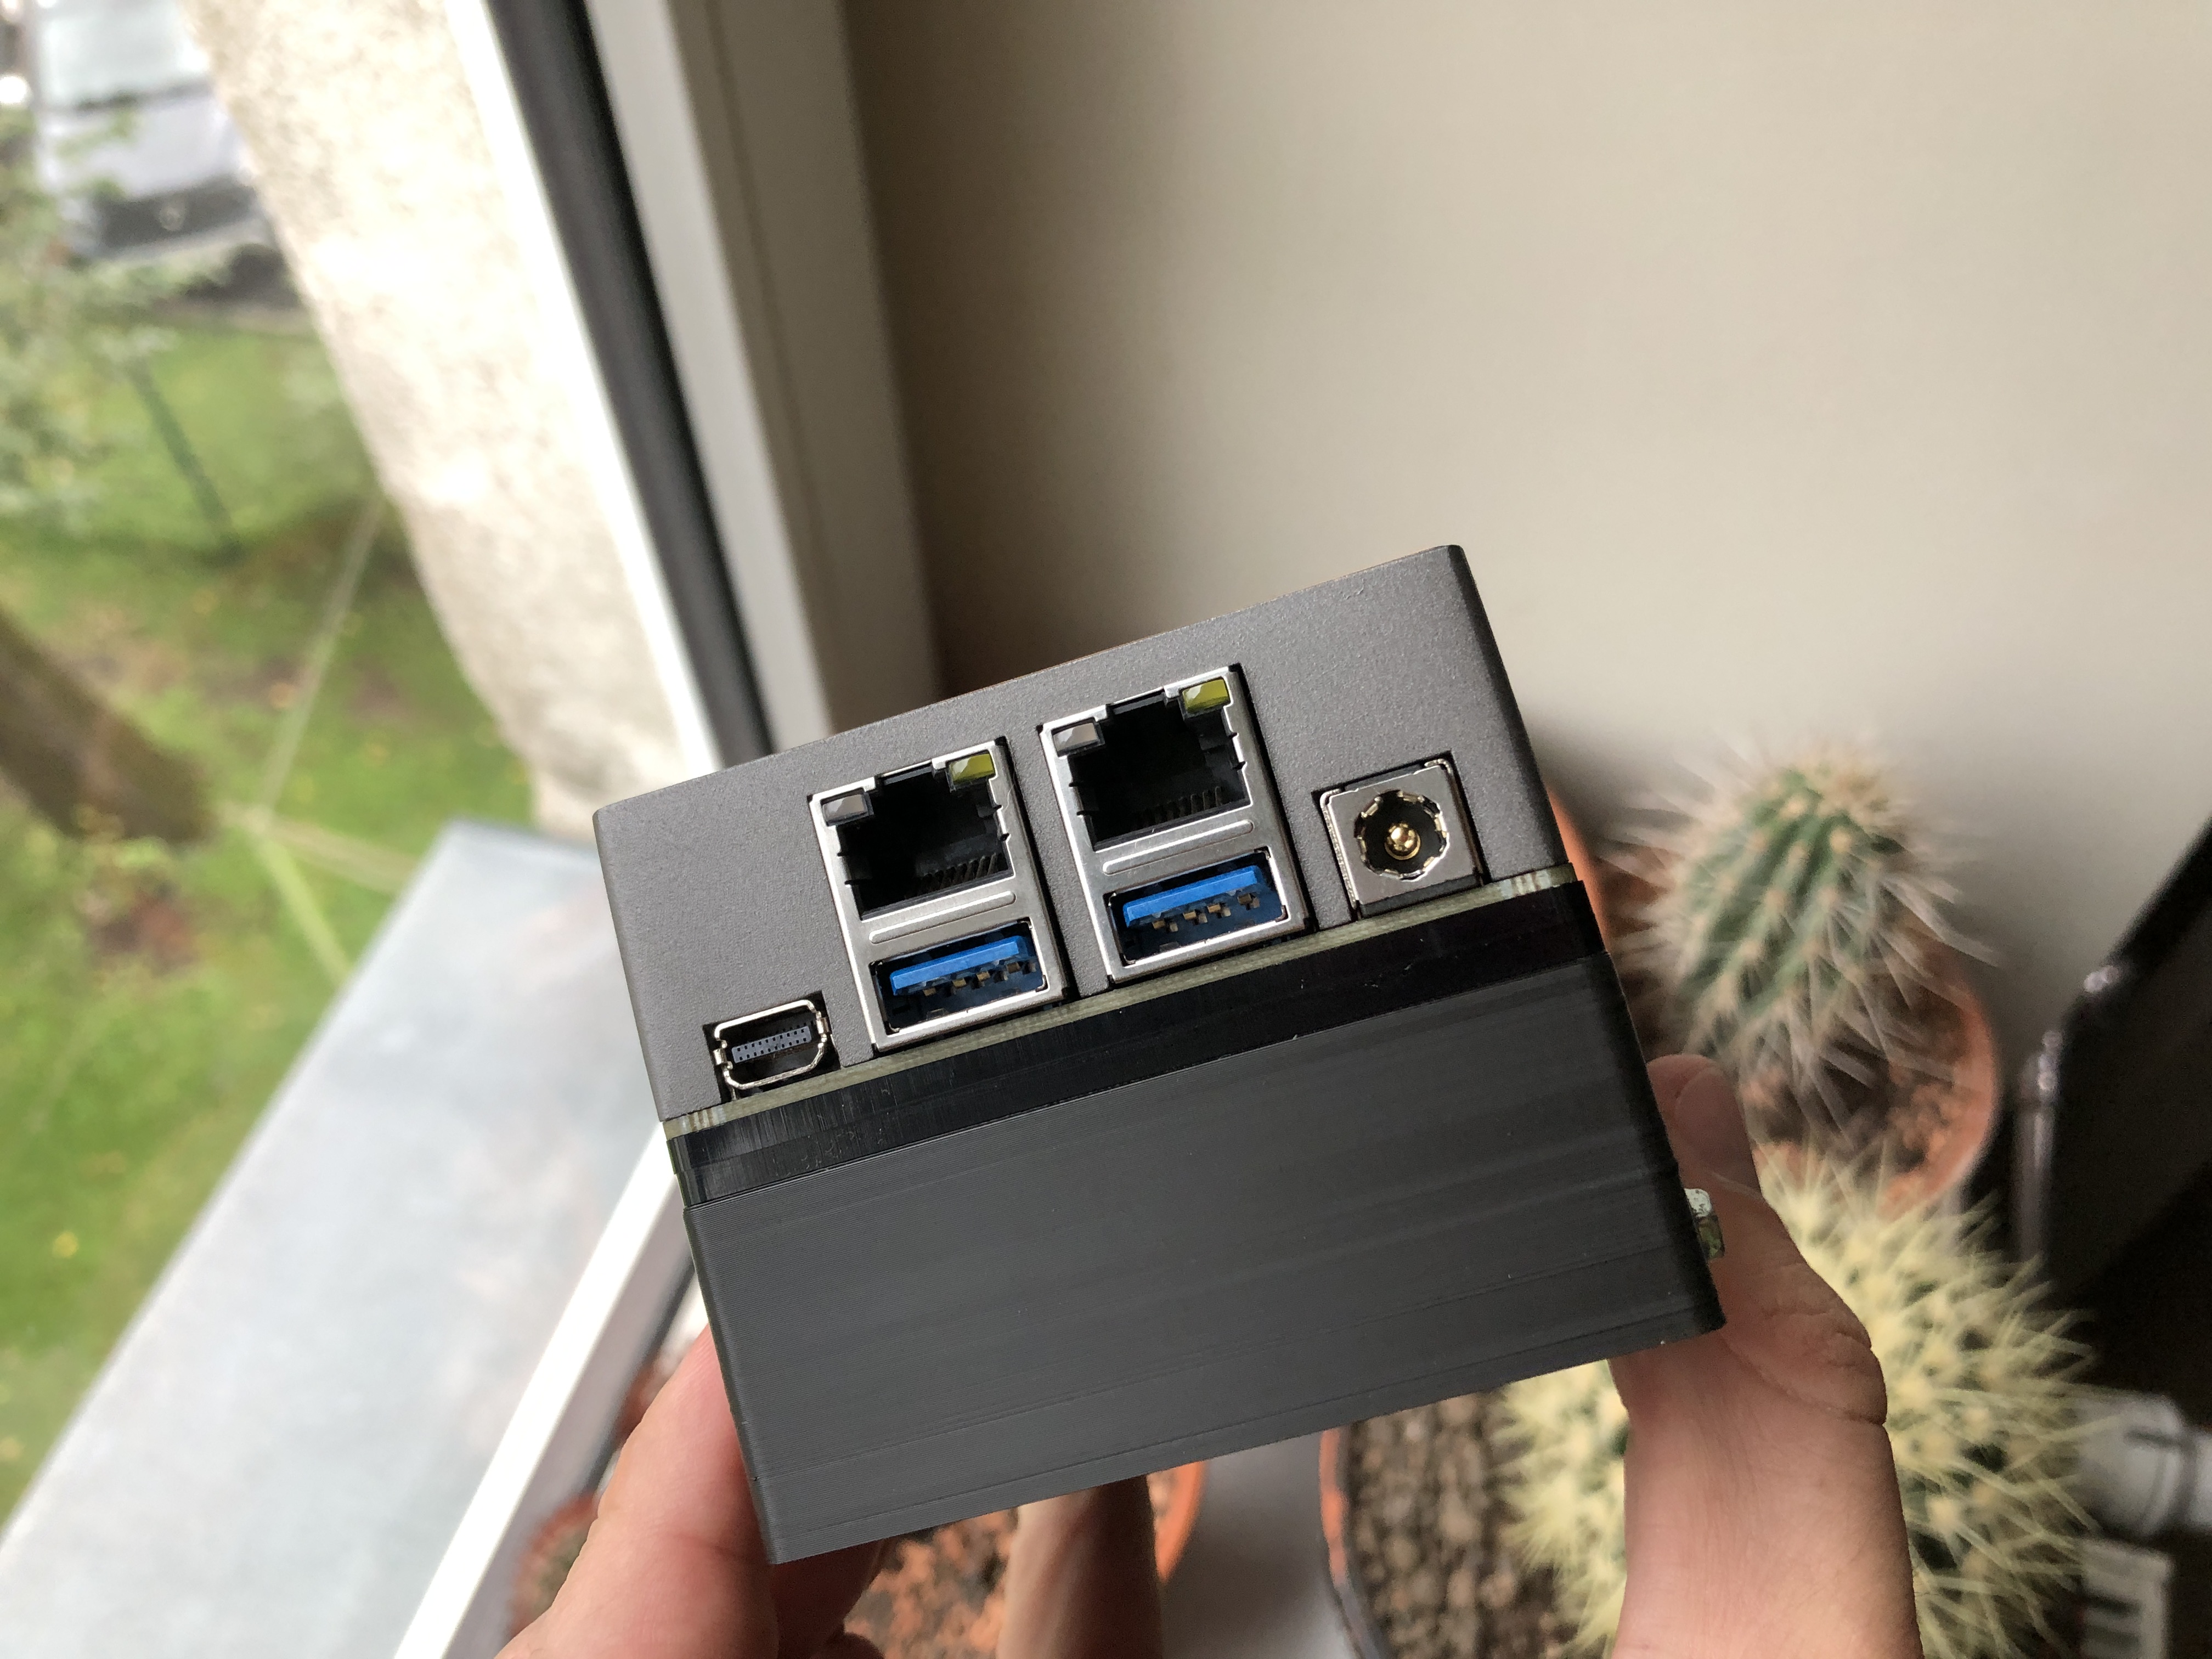
In short, Zimaboard is a small single-board computer that is relatively affordable and comes
with an interesting selection of ports, which includes an exposed PCI Express port.
Before we get down to the build, here’s a list of aspects that I want to see in my dream home server:
- low power usage (2-15W typical power usage)
- 8GB of RAM or better
- enough performance to run my workloads, most of which are containerized
- 2x SATA or NVMe SSD slots, plus option for a third drive for the OS
- passively cooled and completely silent
- compact size
- gigabit Ethernet or better
You might be thinking, “Wait, that’s your dream setup? No clusters of machines, Threadrippers, 10 Gigabit networking, crazy number of disks?”.
Well, yes. After years of trying all sorts of setups and learning about my home server usage patterns, this is the set of requirements that finds a balance between performance, efficiency
and silence.
Basics
I recommend checking the product page to see the exact specifications.
The configuration I bought was the 832 model: 8GB of RAM, 32GB of eMMC storage and a quad-core Intel Celeron N3450 CPU.
It’s not the most powerful setup or even a recent one with the CPU being from 2016, but it’s just powerful enough to fit
my needs.
This variant of the board costs 200 USD, but other configurations cost much less
than that, I just needed the extra memory to be on the safe side. If you don’t
care about the noise and size aspect of home servers, then you can get a better
deal on the used market (see the TinyMiniMicro project for inspiration),
but as you know by this point, I care about those aspects a lot.
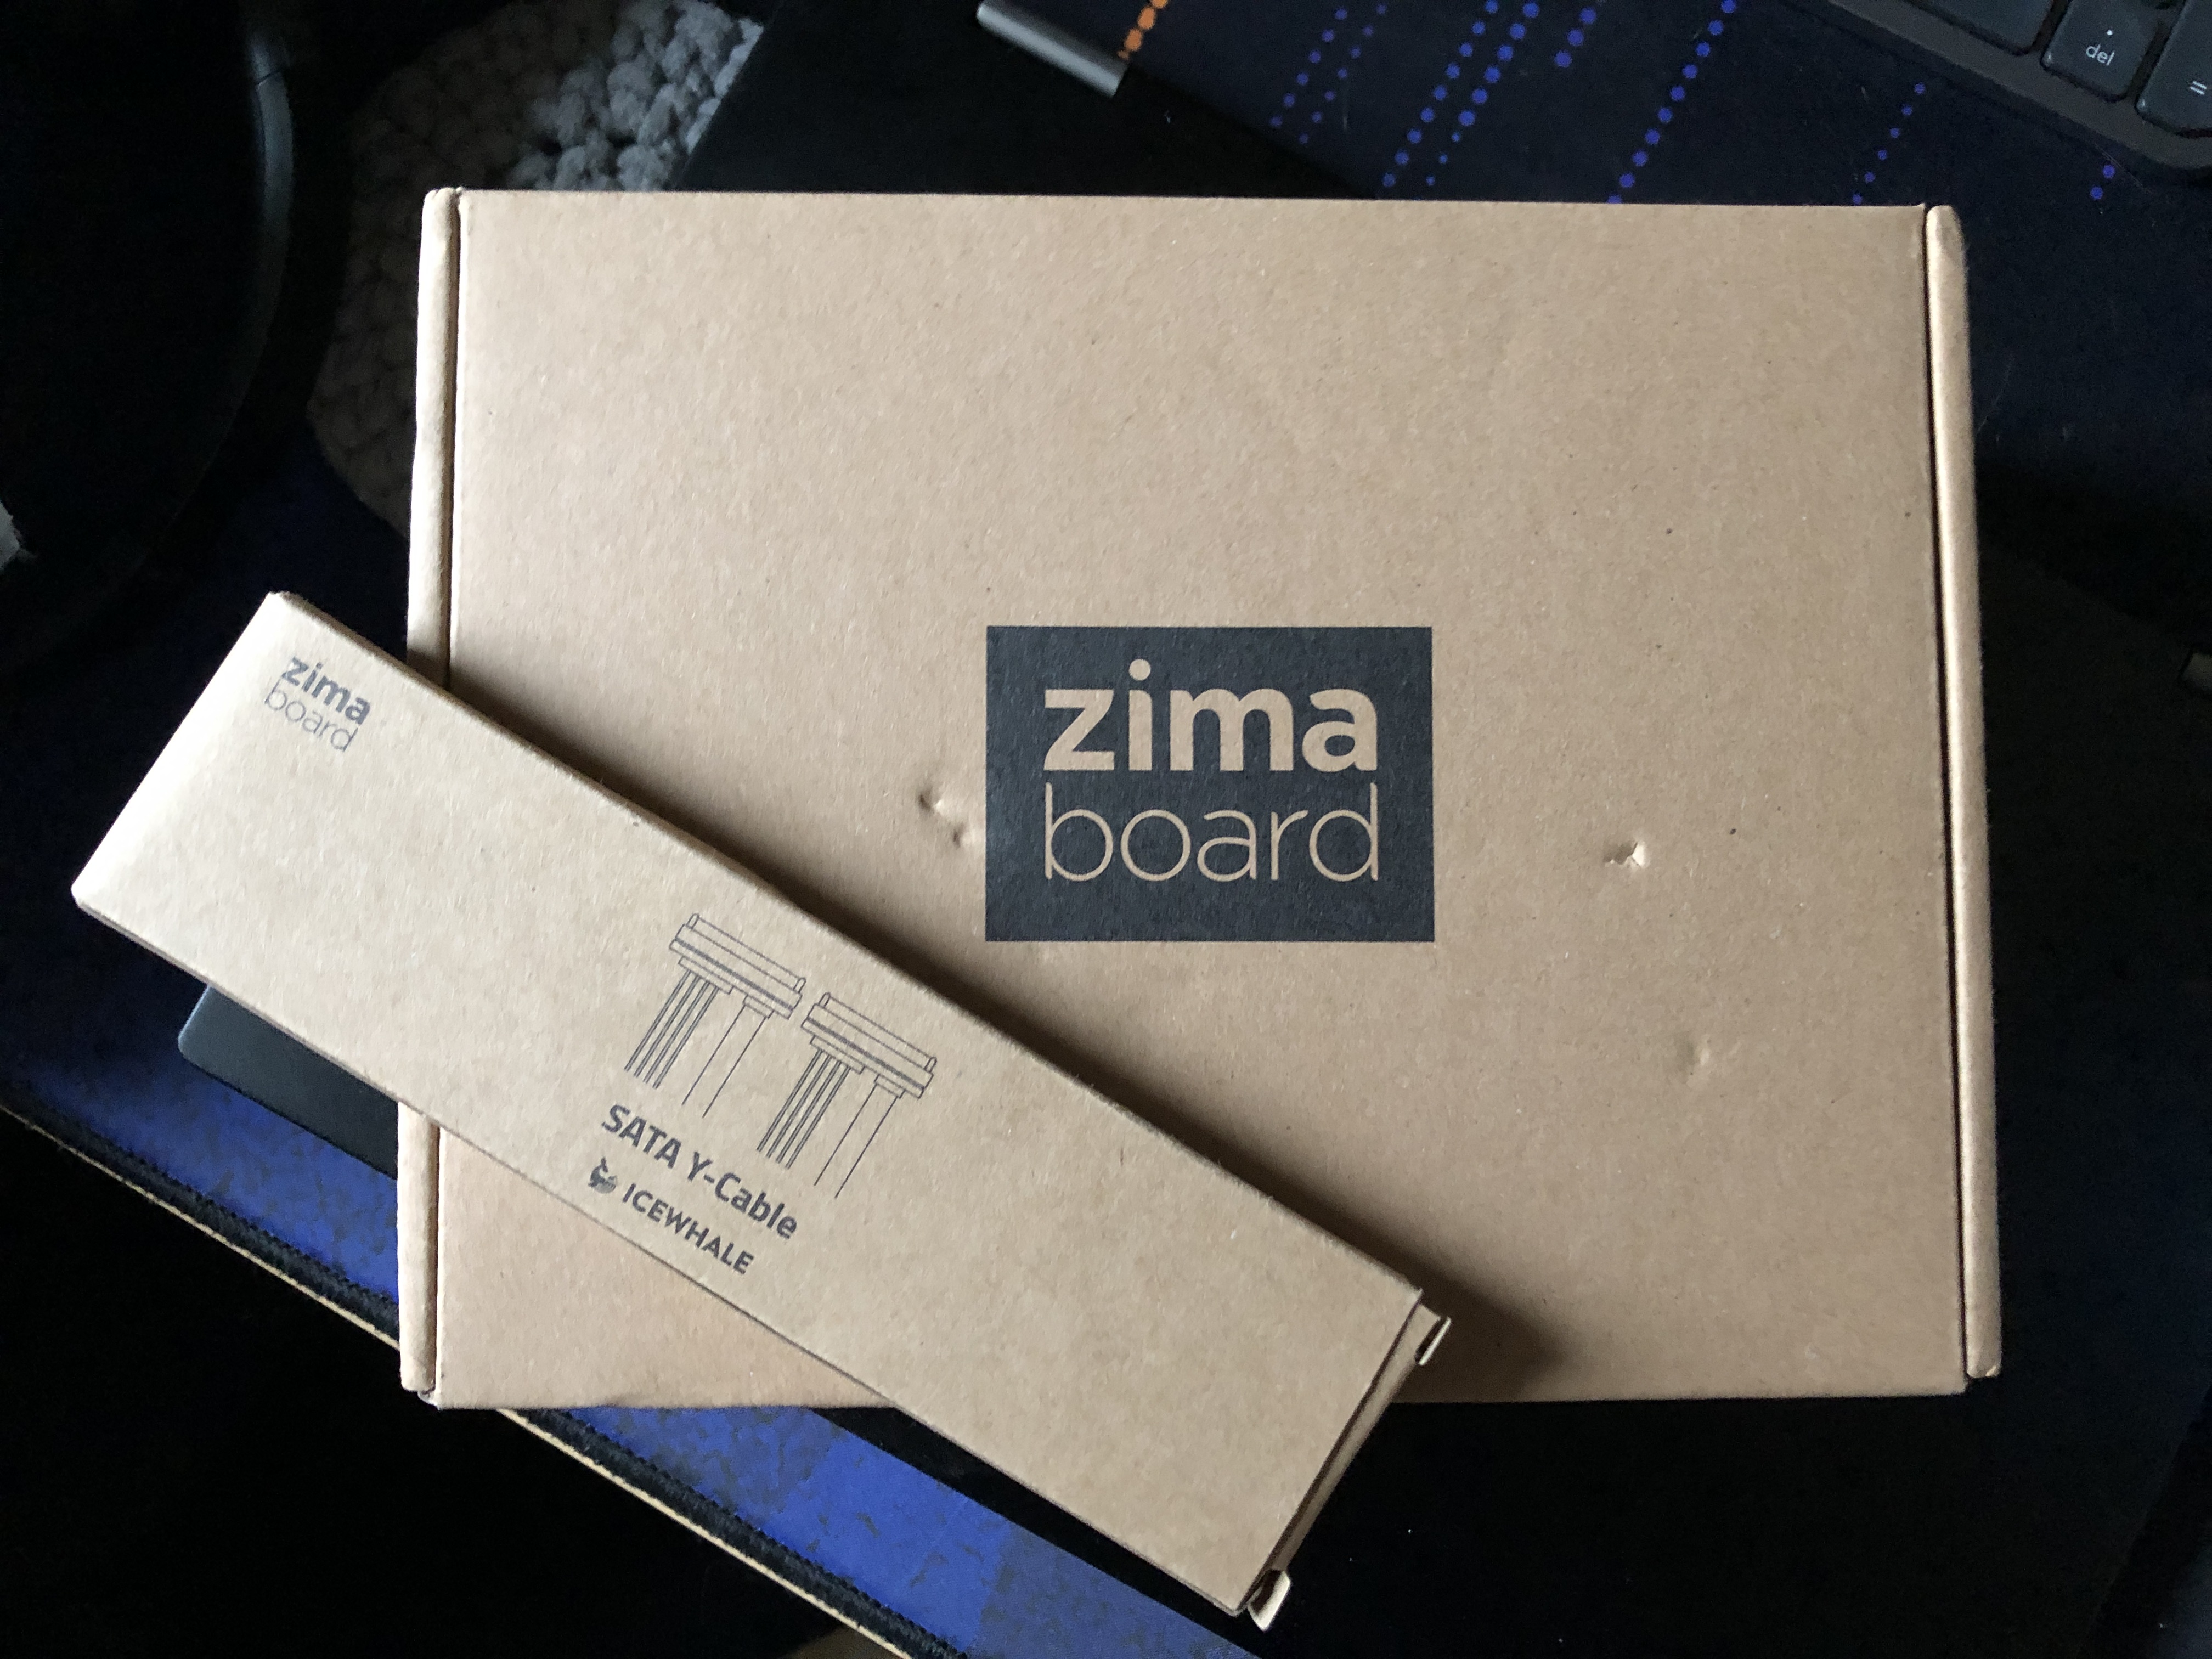
The package
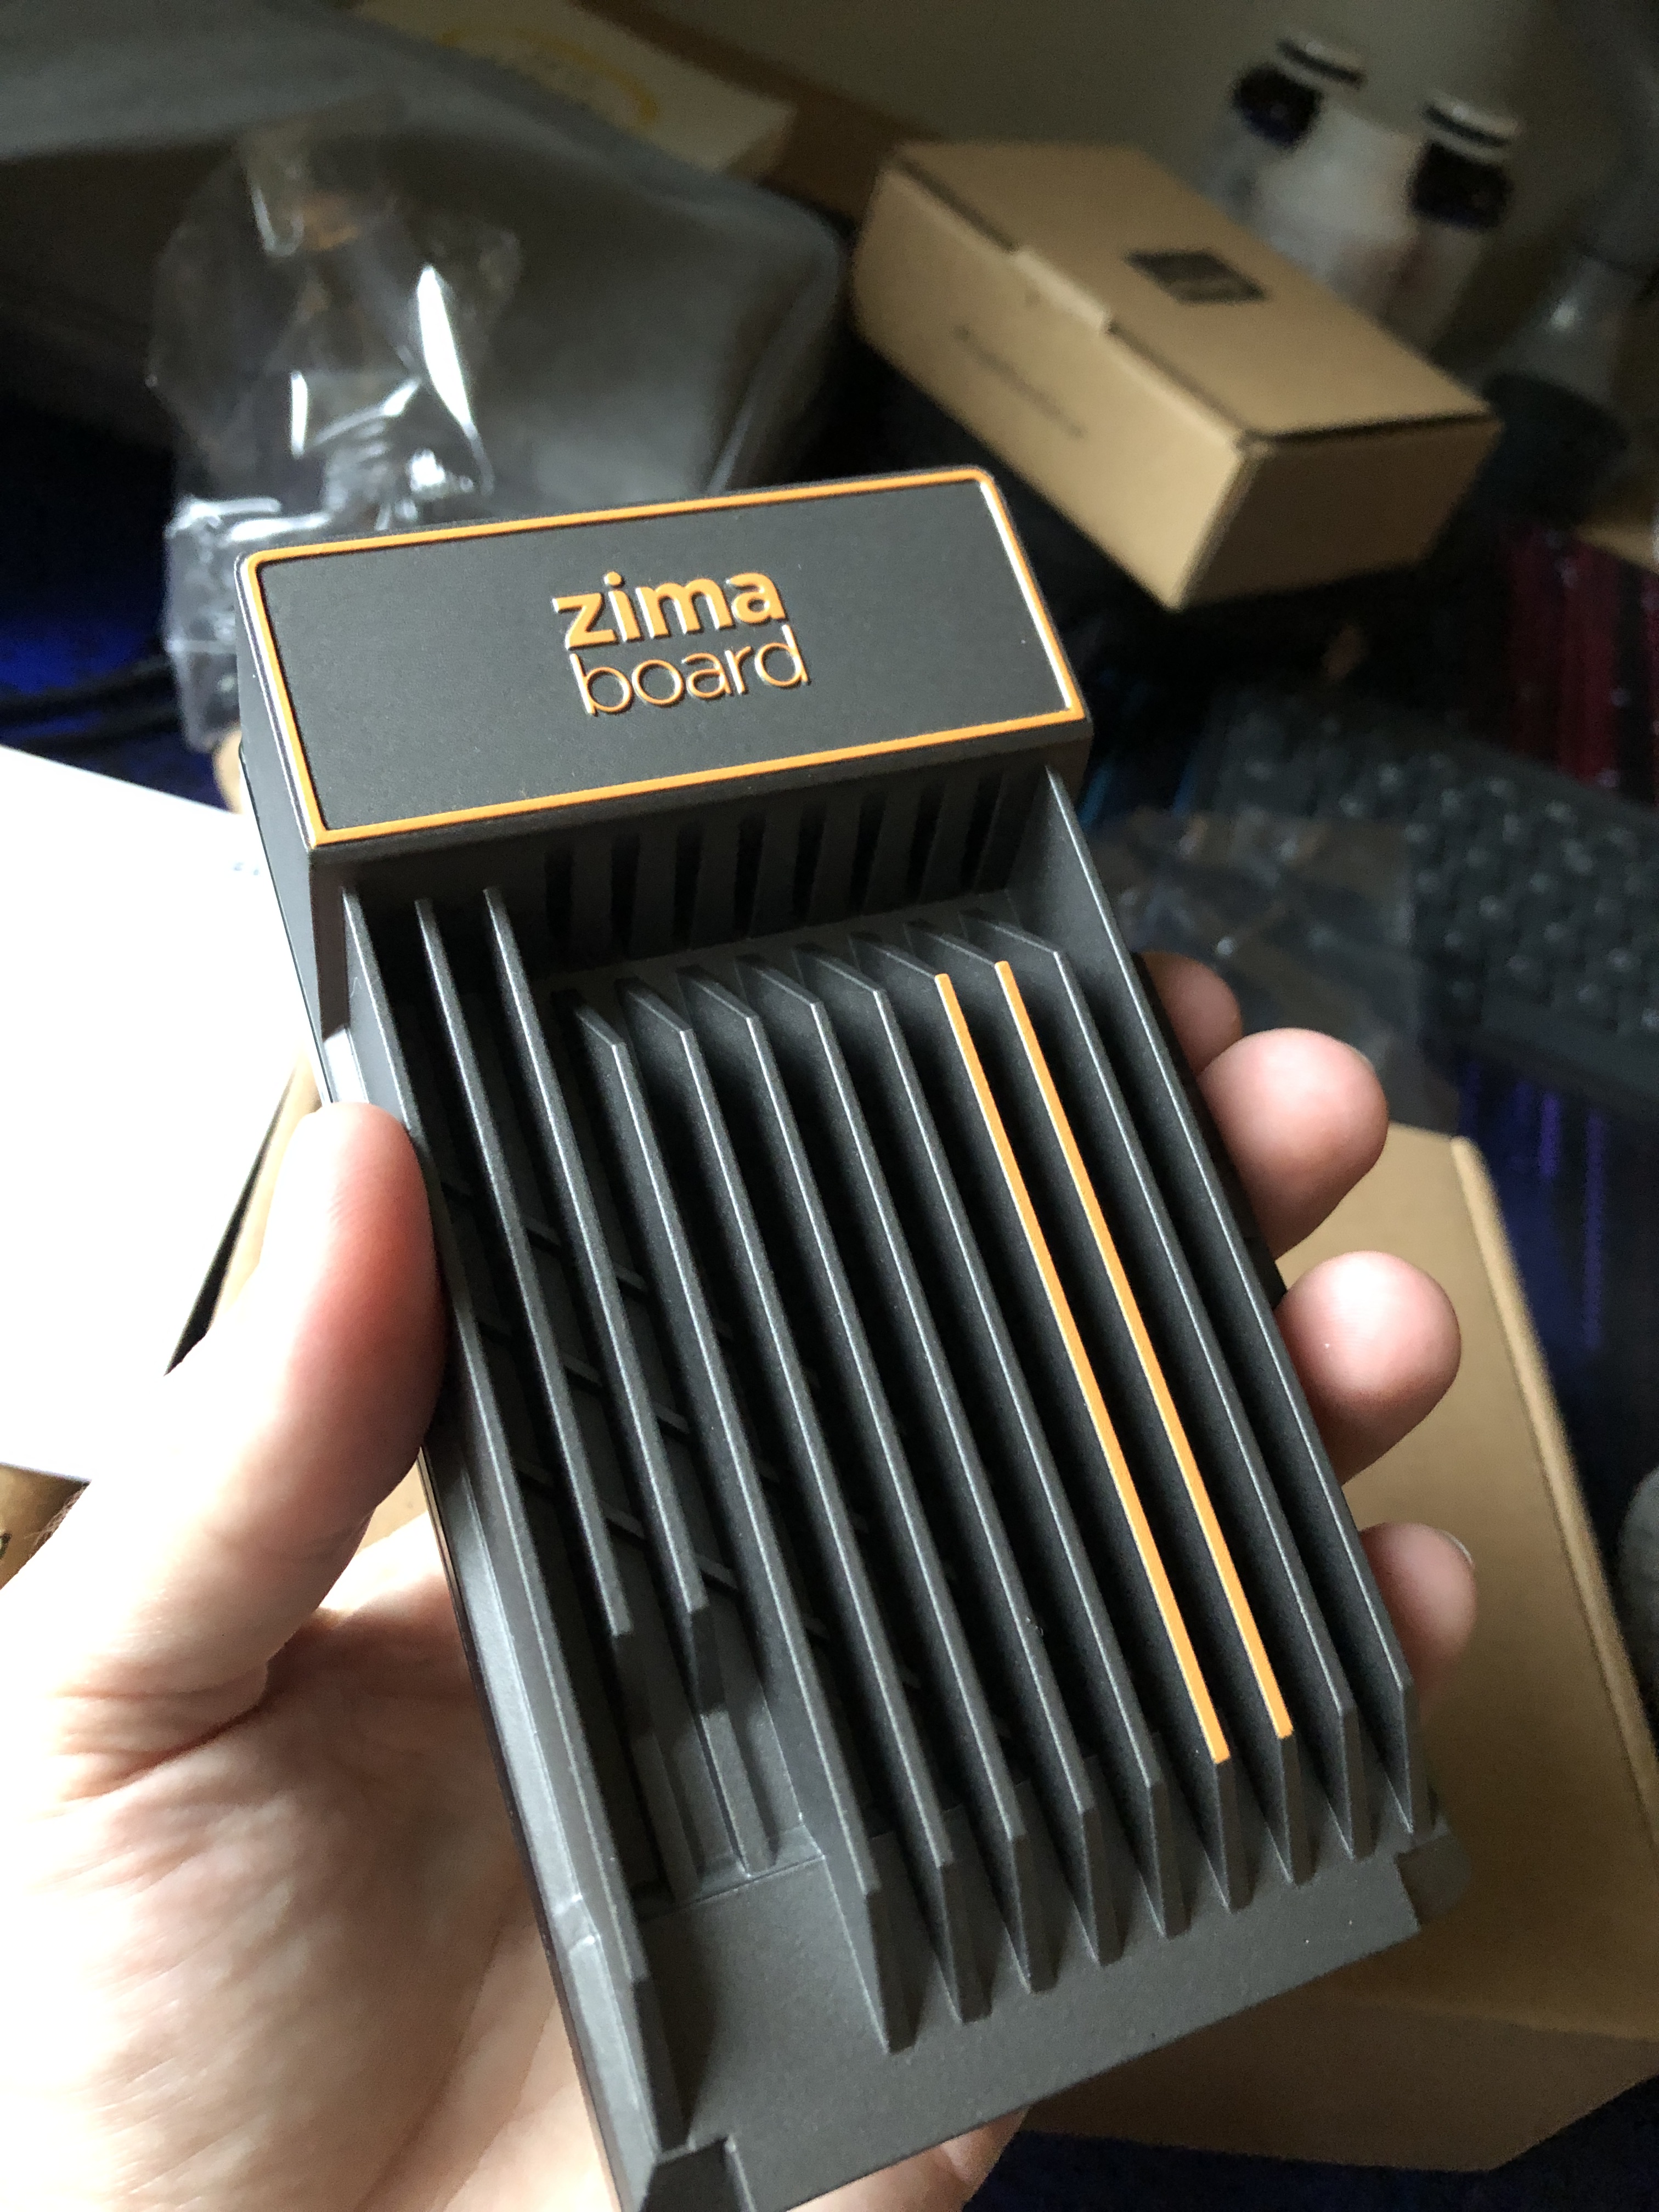
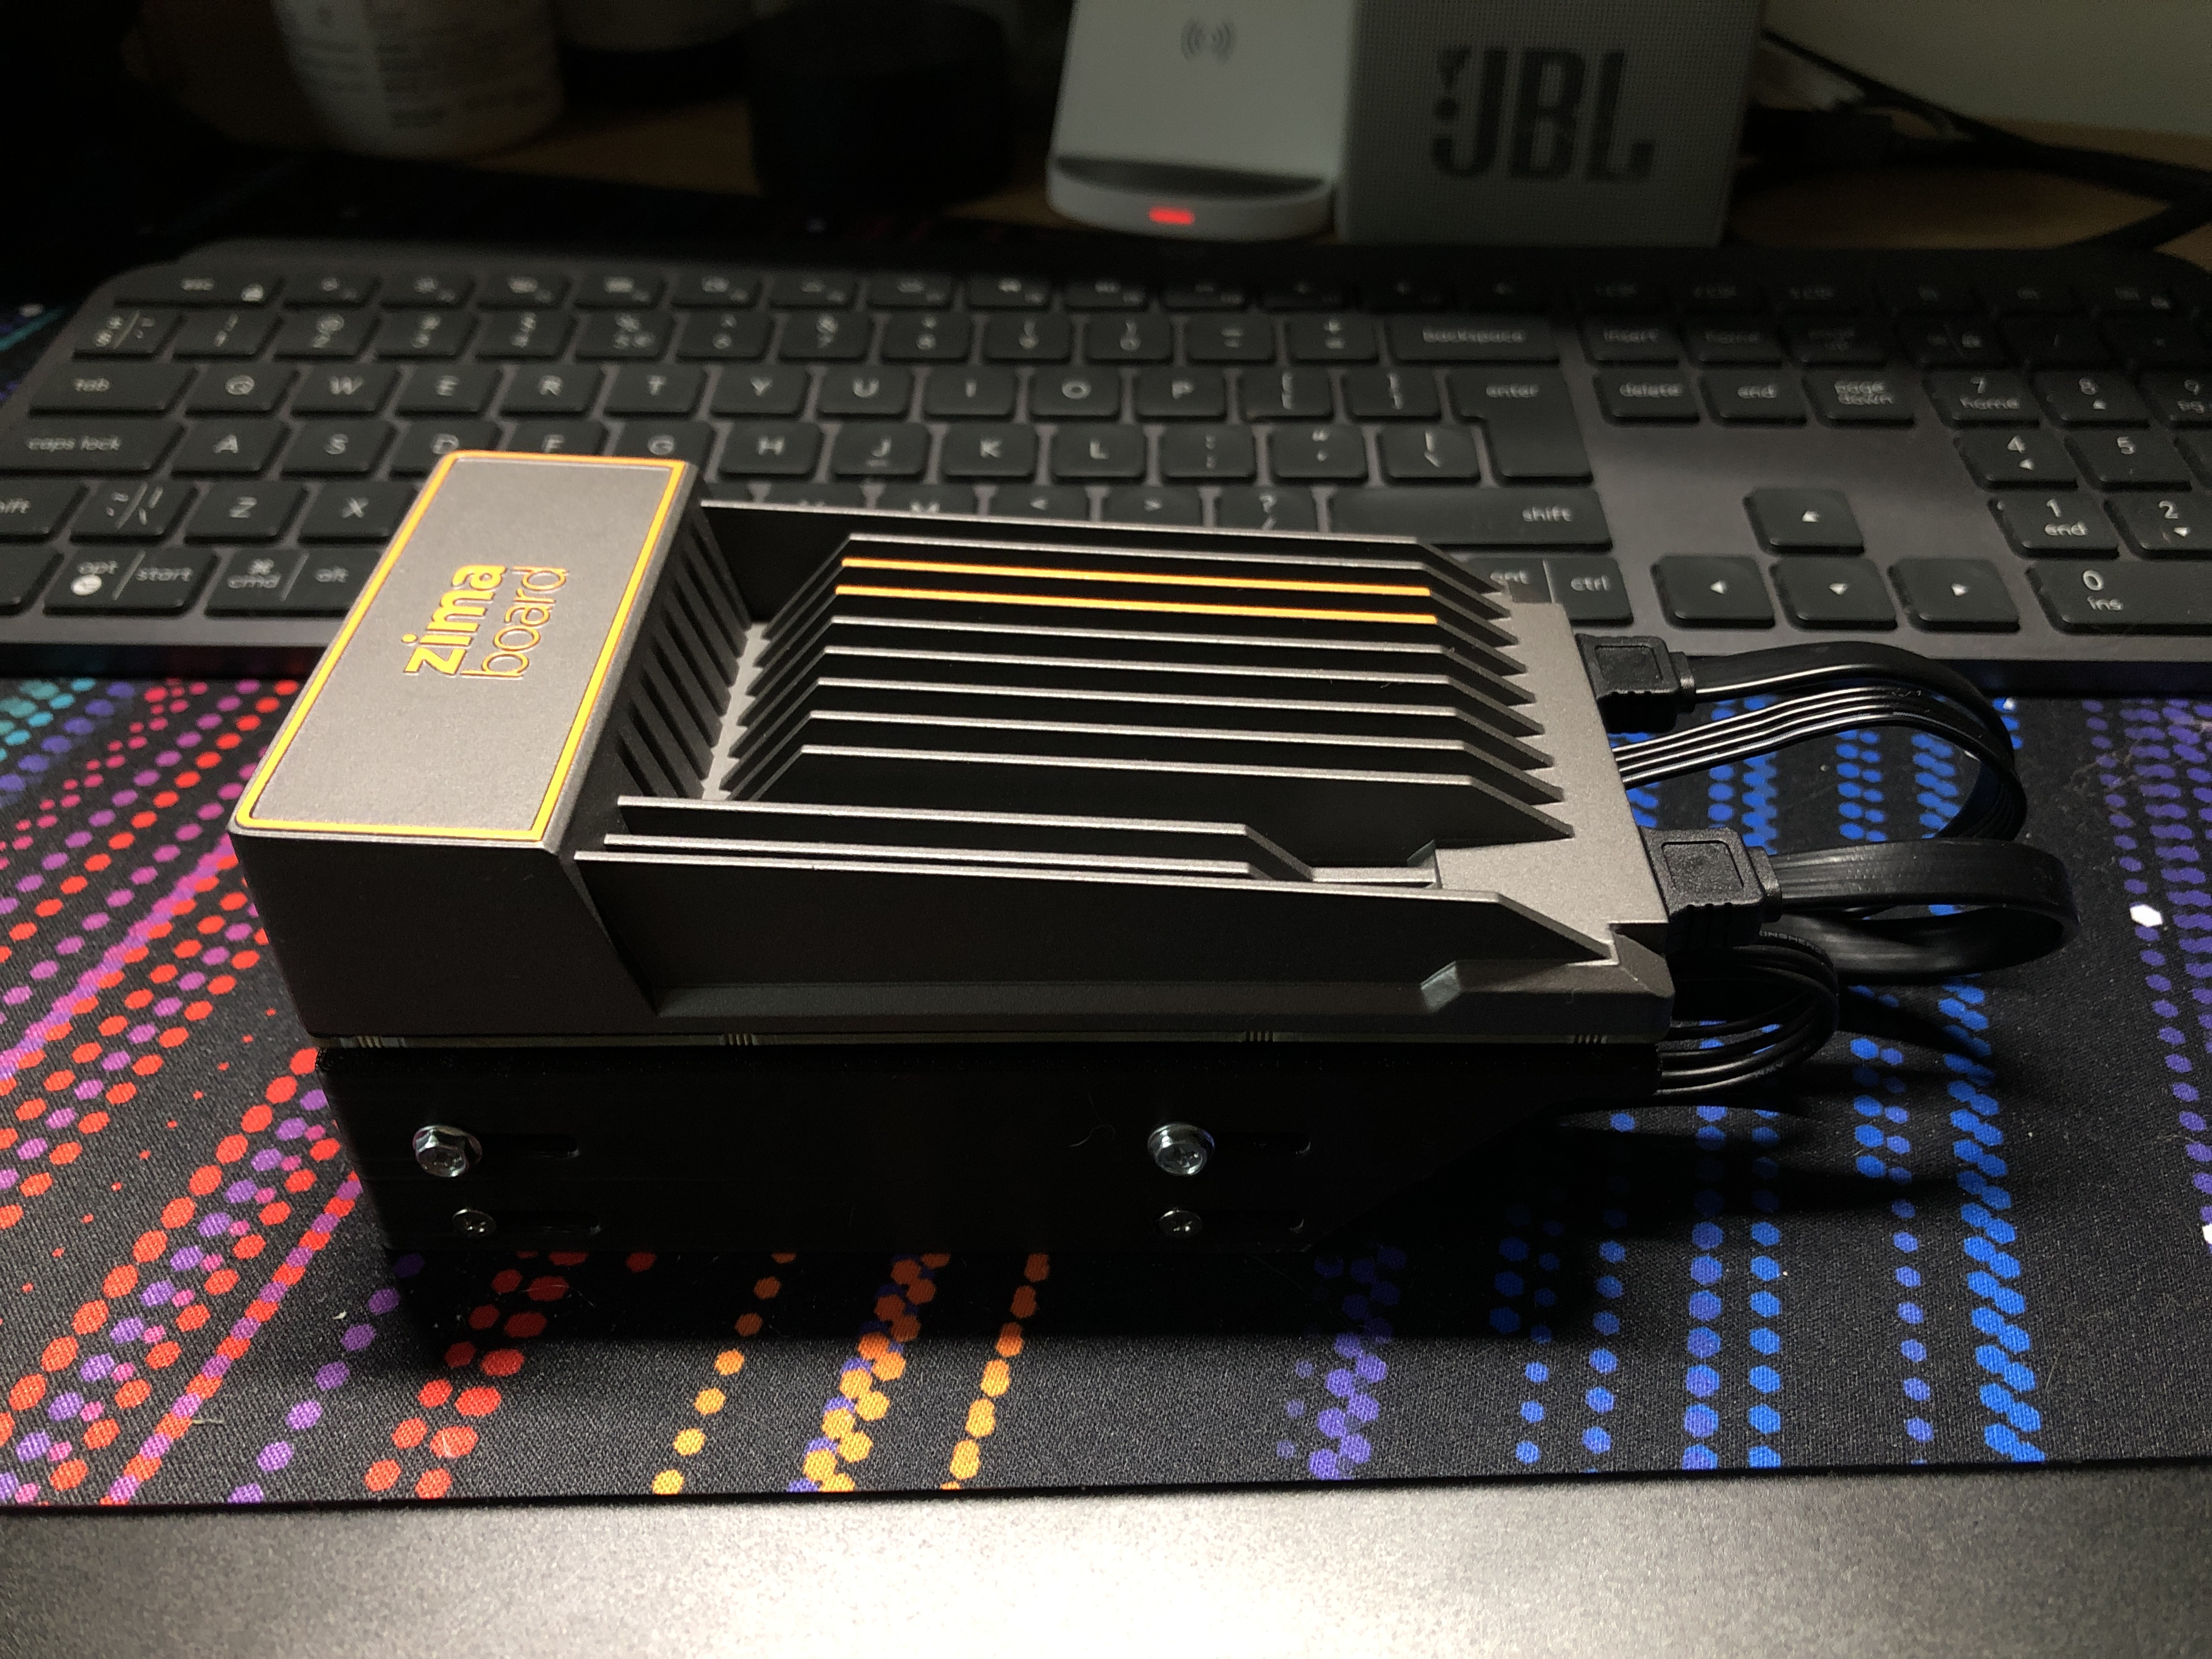
What sets the Zimaboard apart from other single board computers is how polished the product feels.
Unlike a board like the Raspberry Pi, this one comes with a case and a cooling setup
already attached to it. I suspect that a similarily configured Raspberry Pi 4/5
with all the accessories added on top would result in a price that’s quite
similar to the cost of a top-of-the-line Zimaboard.
The heatsink looks great and is practical at the same time.
Under the most torturous loads I could only see the CPU being around 72°C and due
to it being passively cooled it made absolutely no noise. With the case being
present, I do not have to worry about placing the board on my desk and scratching
the table or shorting something out.
Just plop it wherever.
The board does not seem to have a power button, but by default it’s configured
to power on as soon as you connect the power supply, which is great if you’re
going to use this as a home server.
The box that the board was shipped survived and overall I’d say that the packaging
is good. The board comes with some stickers and a single SATA data+power cable.
The included power adapter comes with EU, US and UK plugs all included.
Shipping to Estonia was quite fast, taking just 10 days. The shipping costs were
18 USD.
The box did its job.
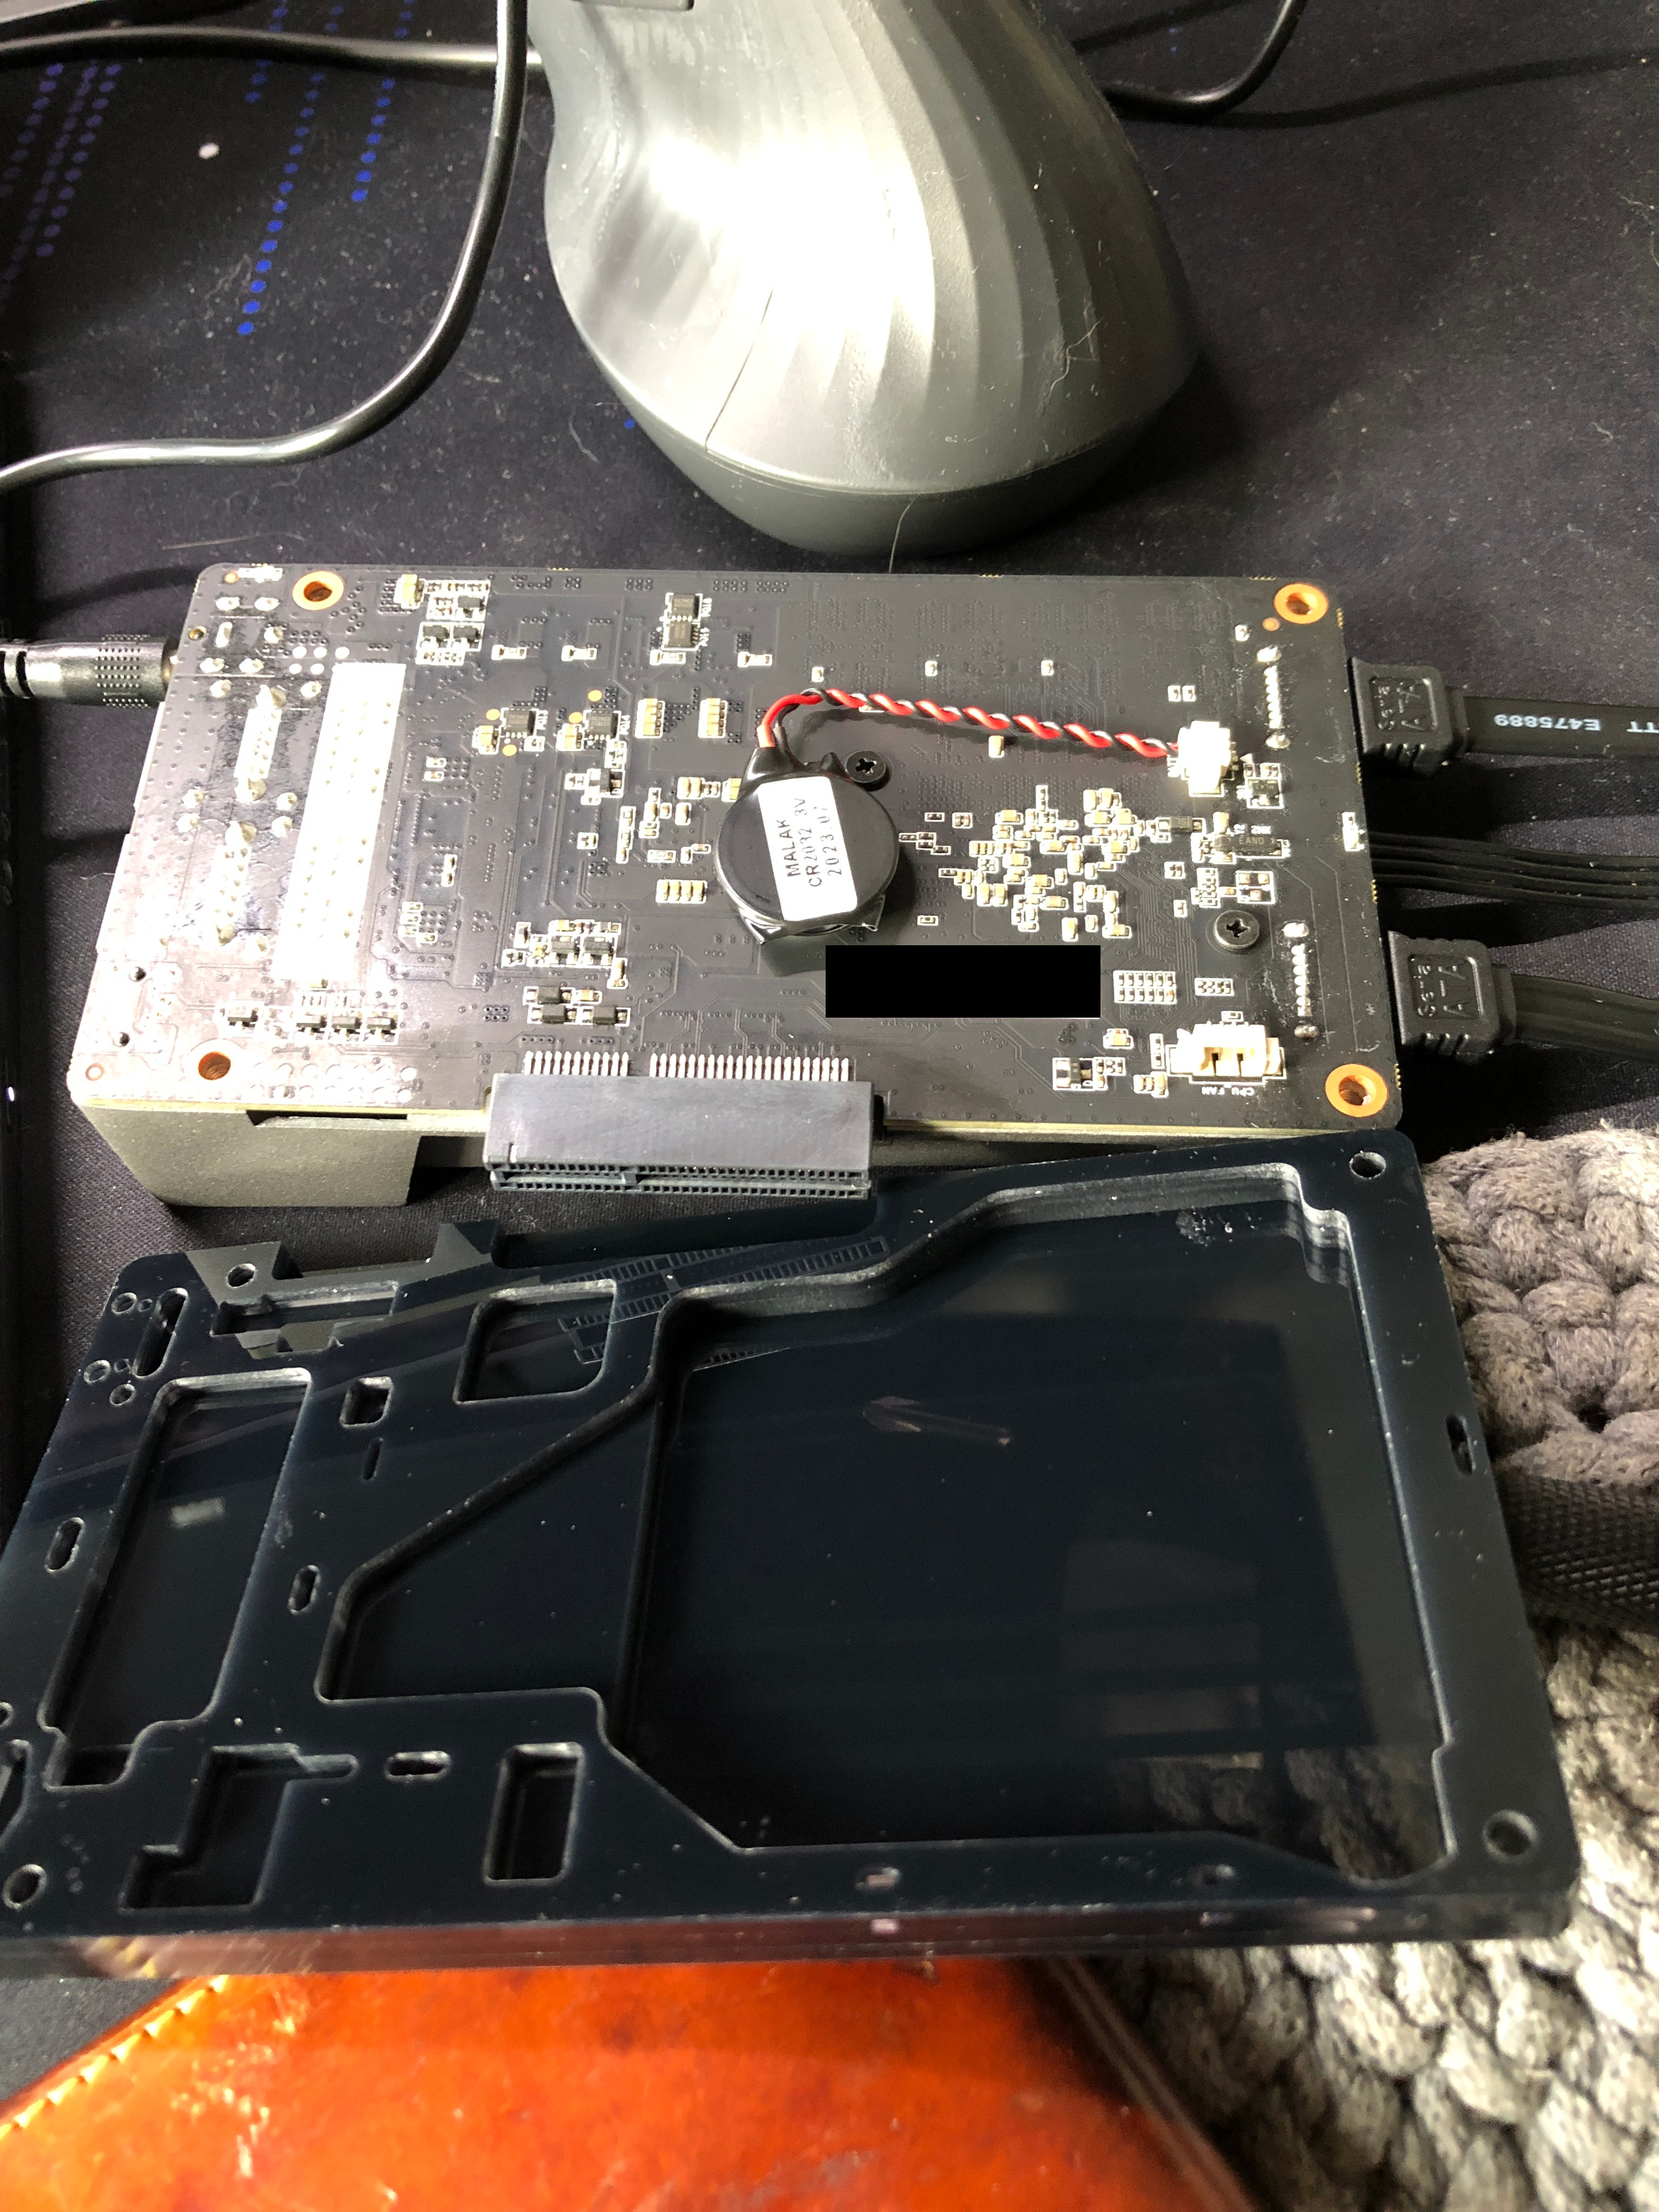
Storage
The included 32GB eMMC storage is fine for hosting your operating system. The
read speeds cap out at around 175 MB/s and the typical write speeds I observed
were around 50-100 MB/s. The storage is identified as mmc-BJTD4R_0xc7d04e40 under
/dev/disk/by-id/, and searching online suggests that it’s a Samsung chip.
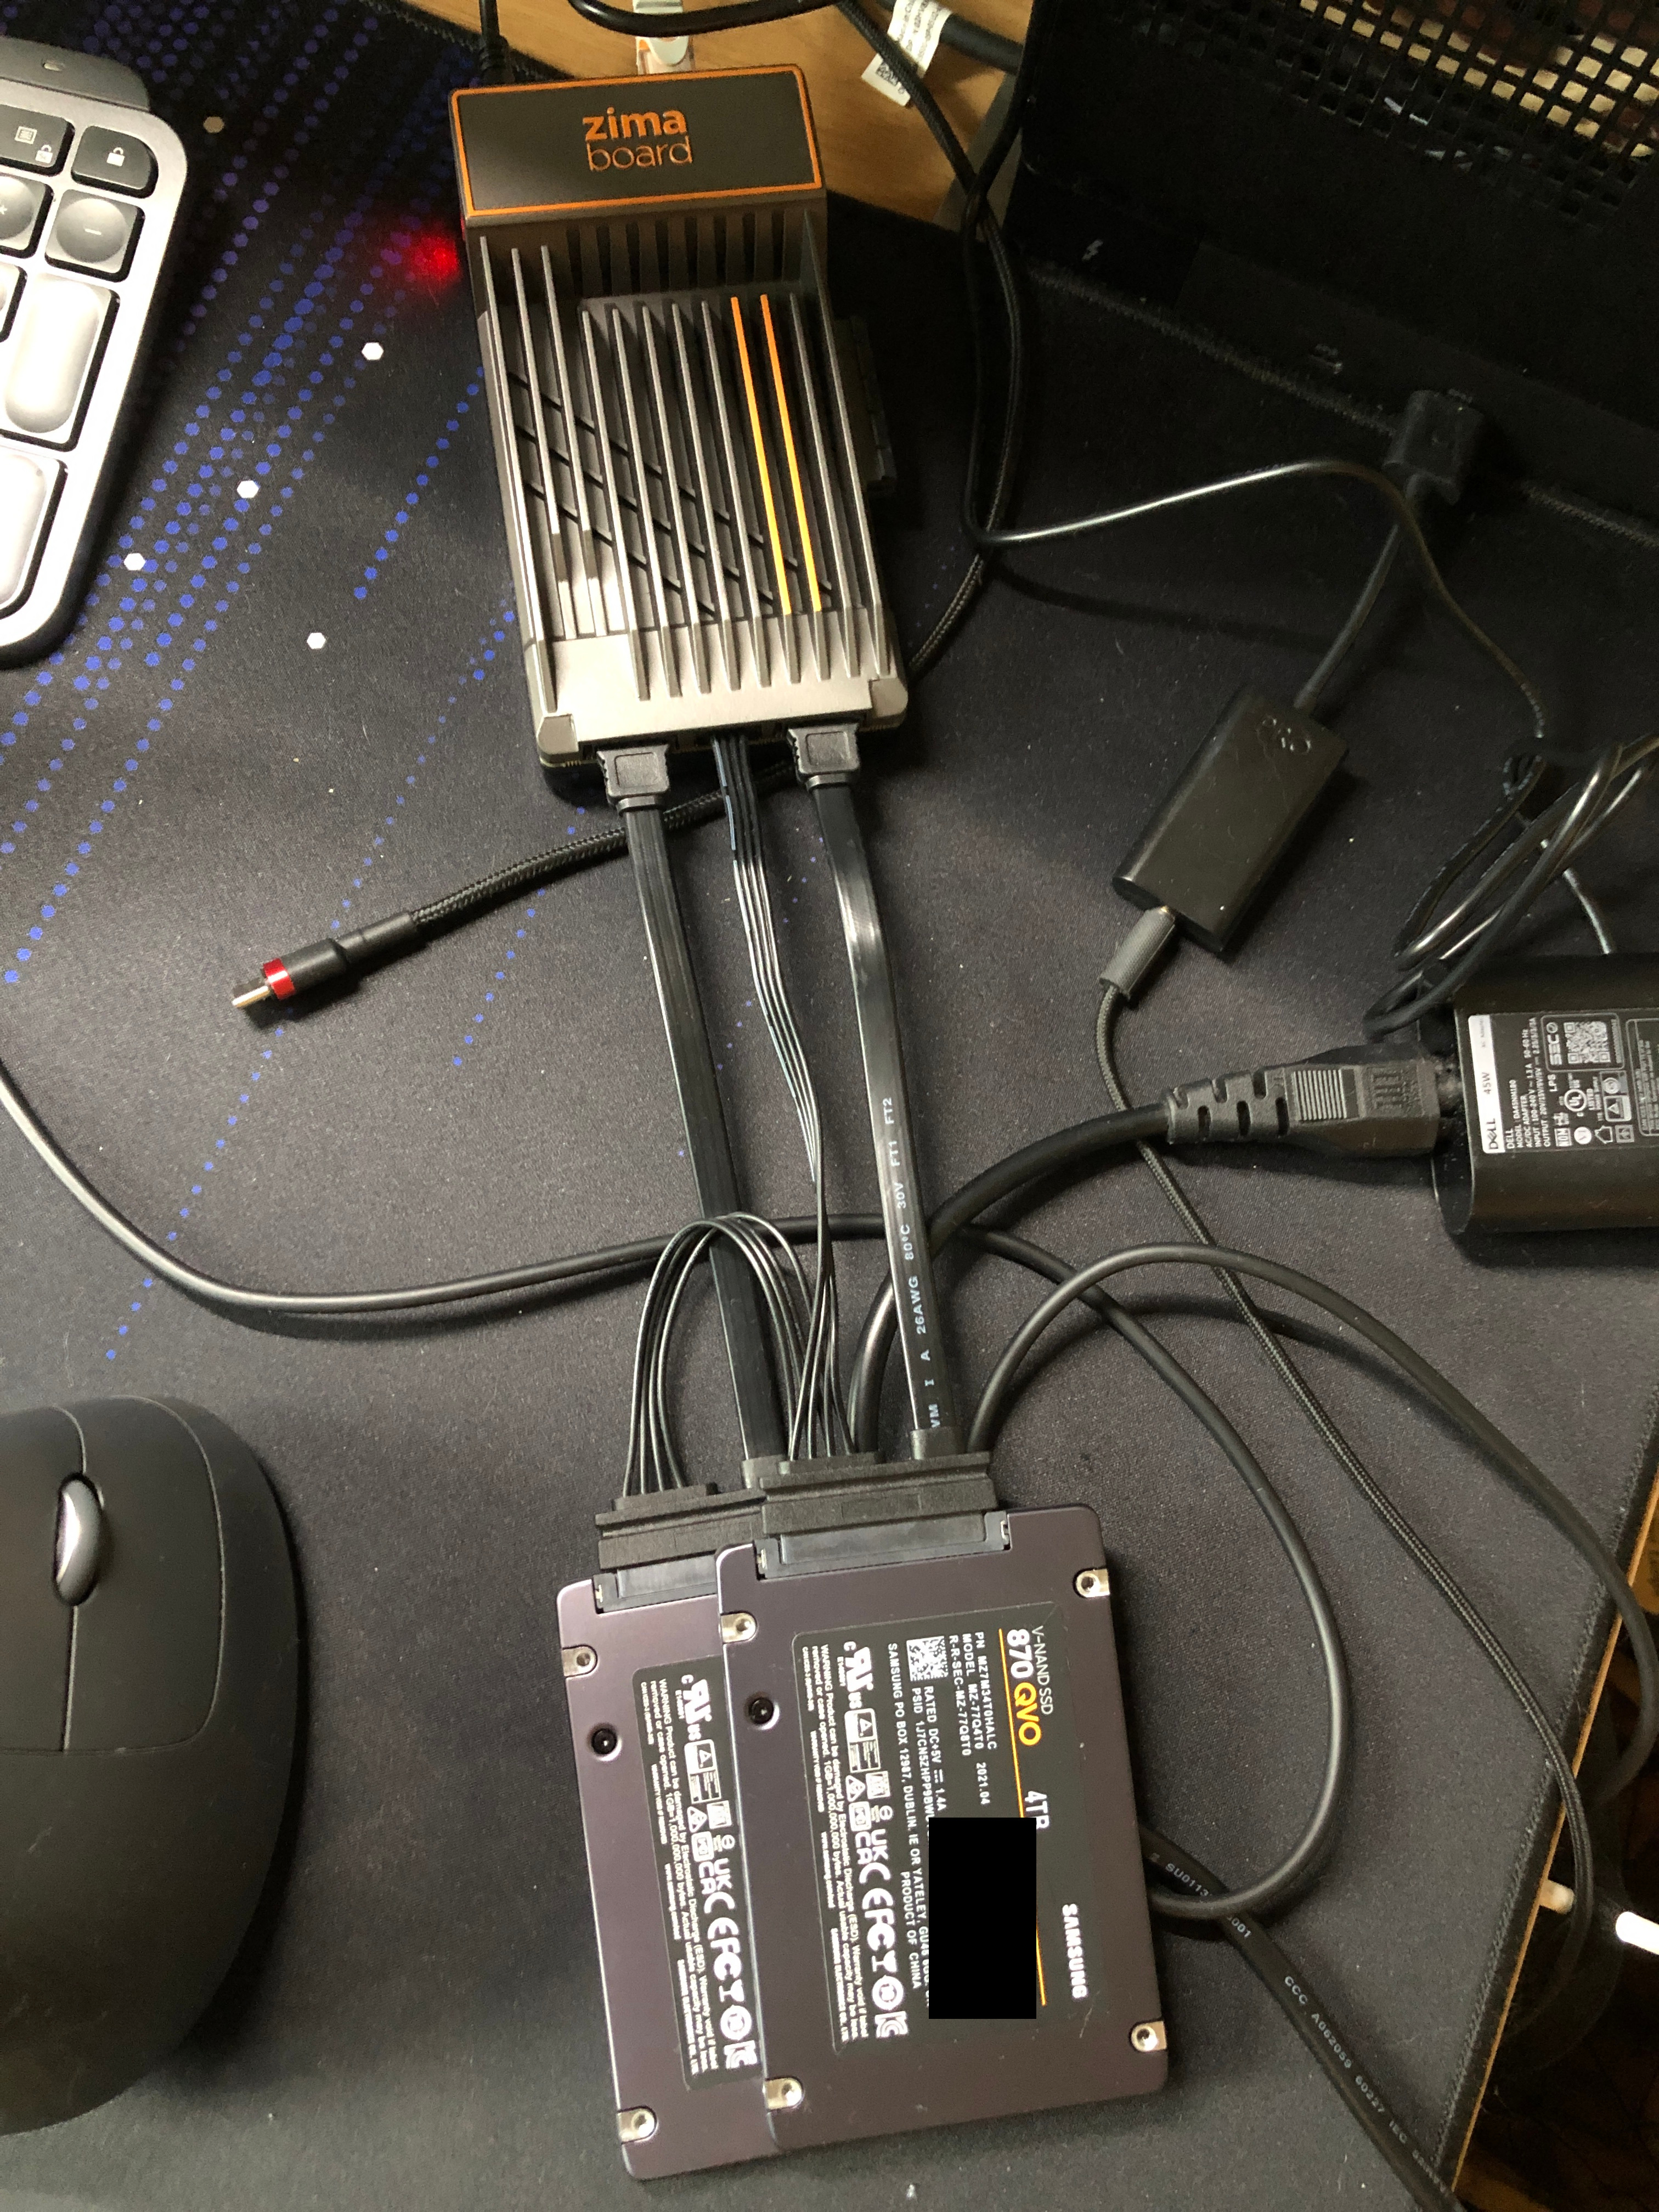
Because this board offers two SATA ports, I also added a SATA Y-cable to my order
(4 USD) so that I can take my existing Samsung 870 QVO 4TB SATA drives and move
my home server setup to this board.
SATA Y-cable in action.
Allegedly this cable can also be used to drive
two 3.5″ hard drives powered by the board itself according to the shop page
for the Y-cable, but I suspect that at that point you’ll be pushing the limits of
the 12V/3A power adapter.
There is also a white drive activity LED
placed near the SATA power connector on the board. Perhaps not for everyone, but I
like the aesthetic and the sight of the server doing server things.
The performance of the SATA ports is what you would expect. When performing
read operations on both SSD-s I saw the maximum total transfer rates hover around
900-950MB/s, which is pretty close to the SATA III transfer speed limit.
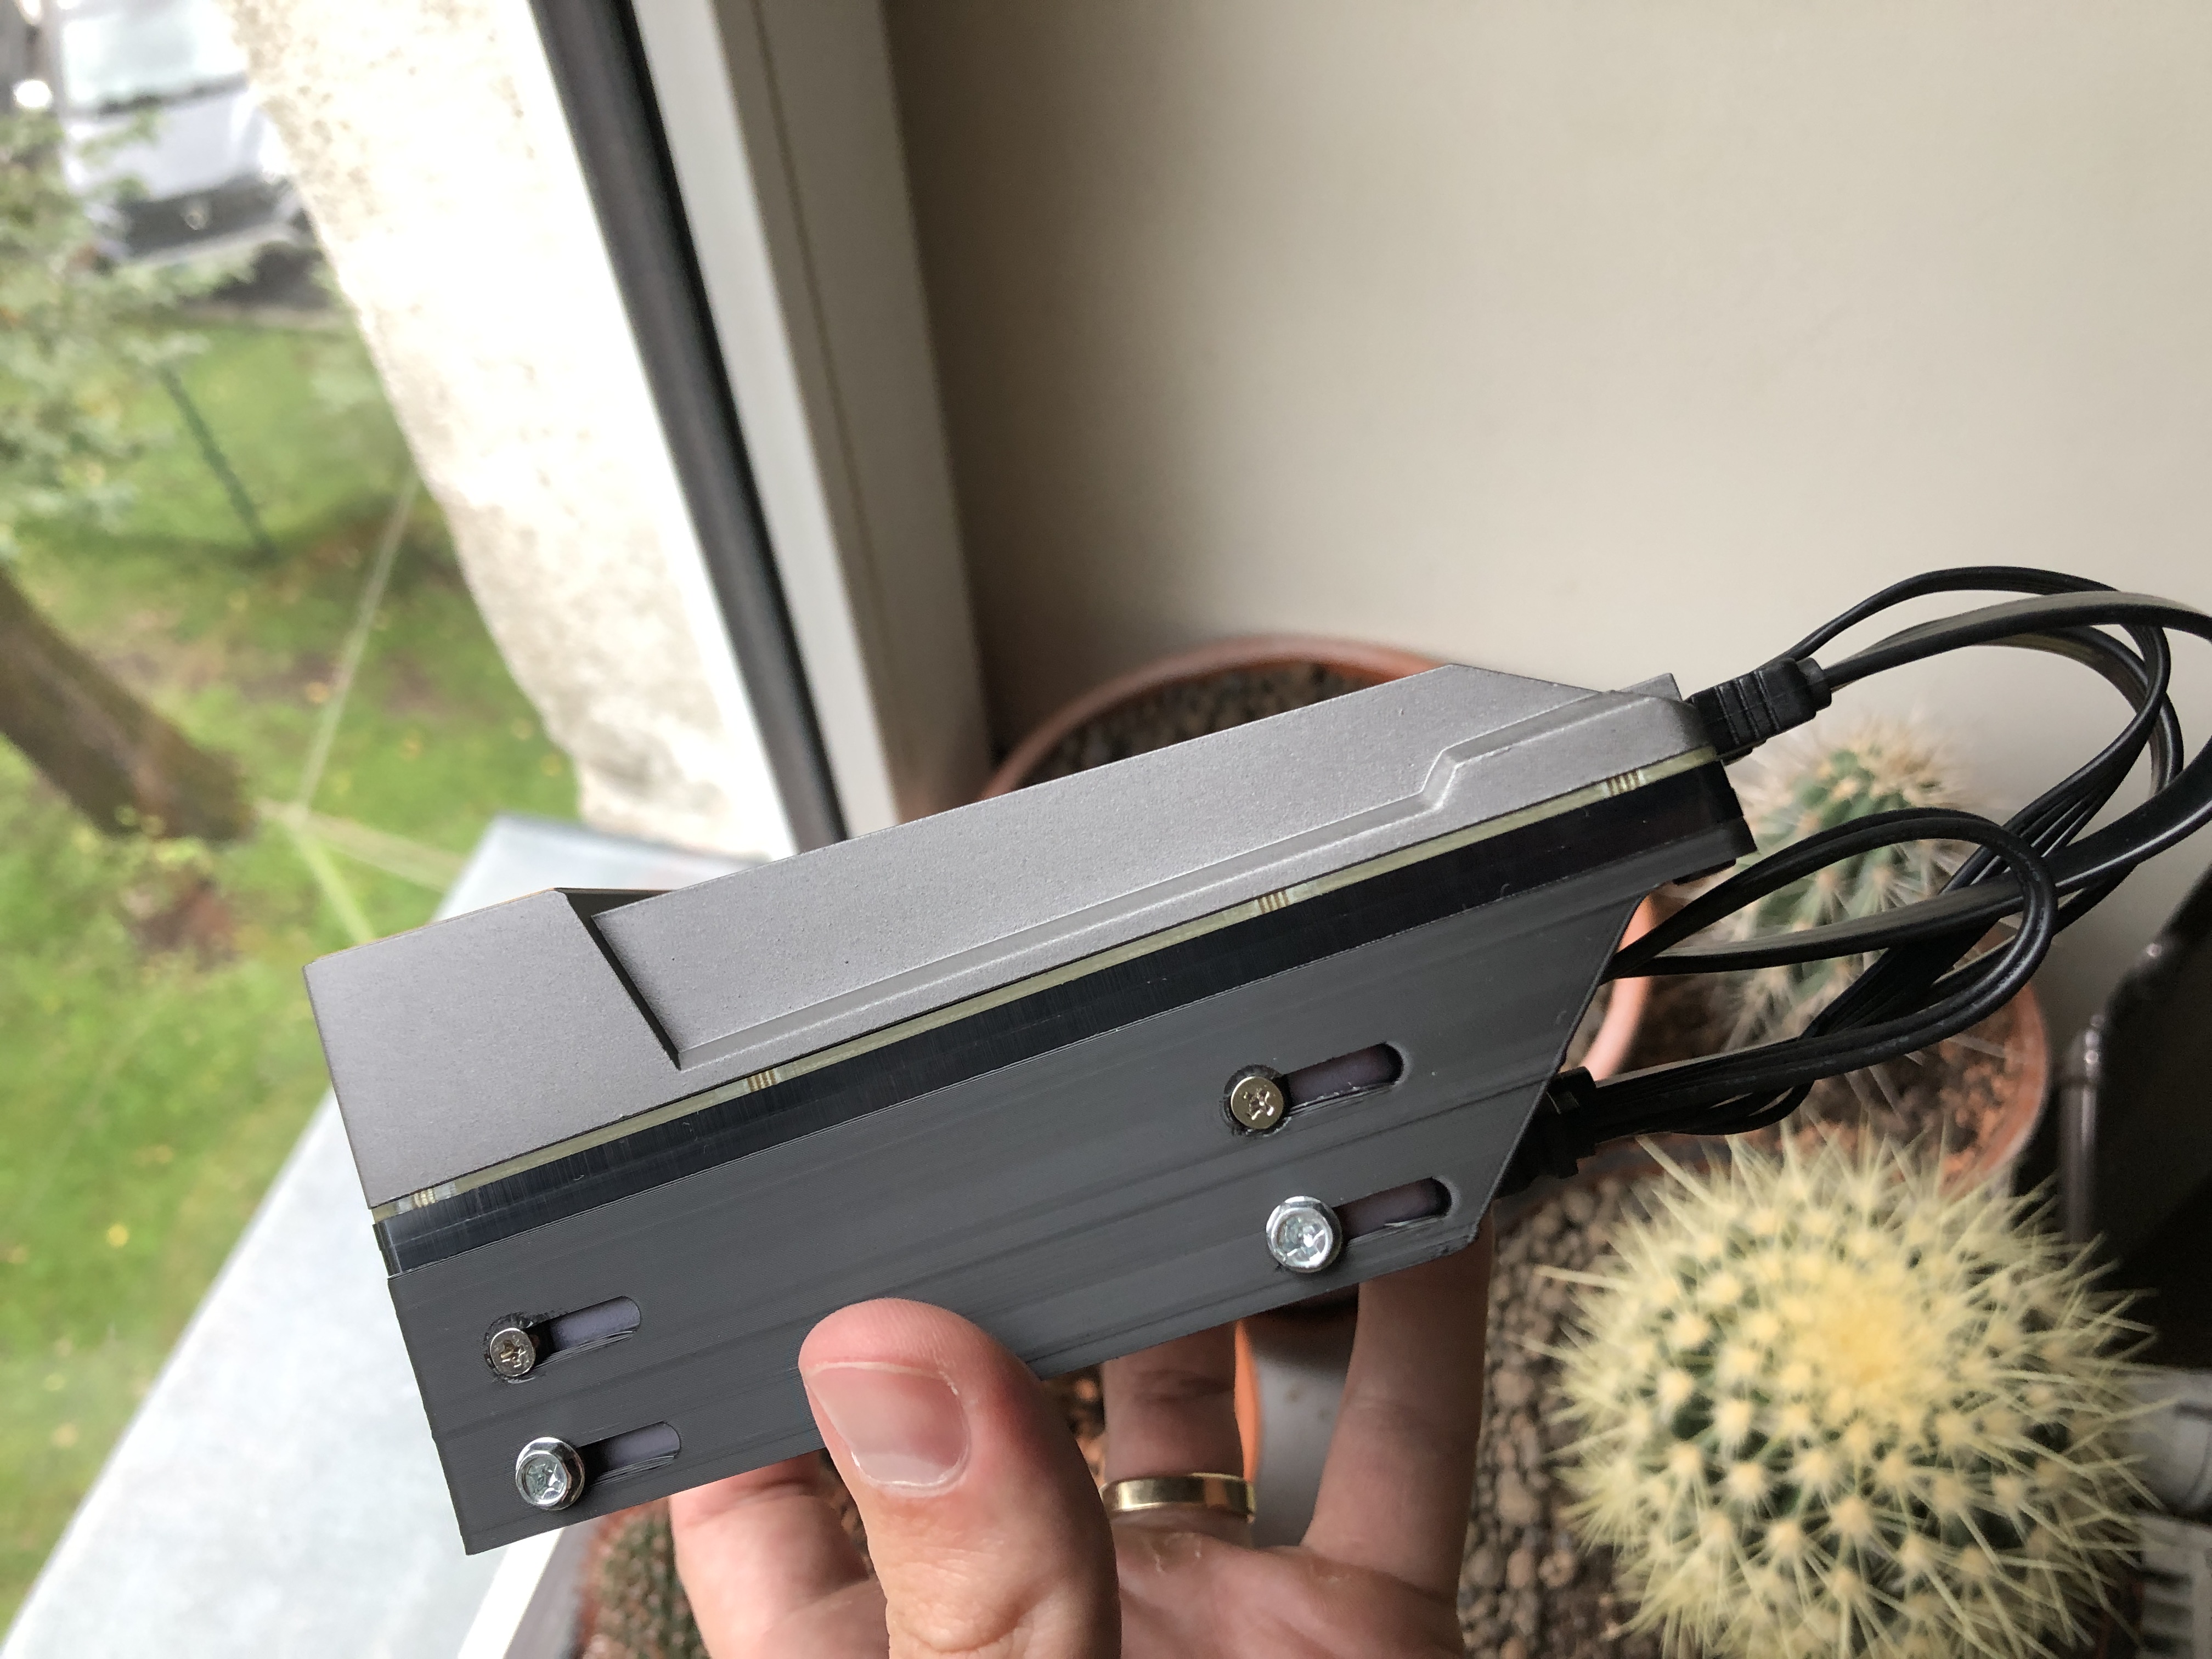
There is no native way to mount the two SATA drives to the Zimaboard. The creators
of the board do sell a metal bracket, but it doesn’t seem to integrate that well
to the board. However, there exists a 3D printable design that houses two
2.5″ drives, even 15mm ones, and
that’s how I ended up using a 3D printer for the first time in my life.
The print was done using a Voron v2 Afterburner printer hosted at k-space
and it came out pretty well.
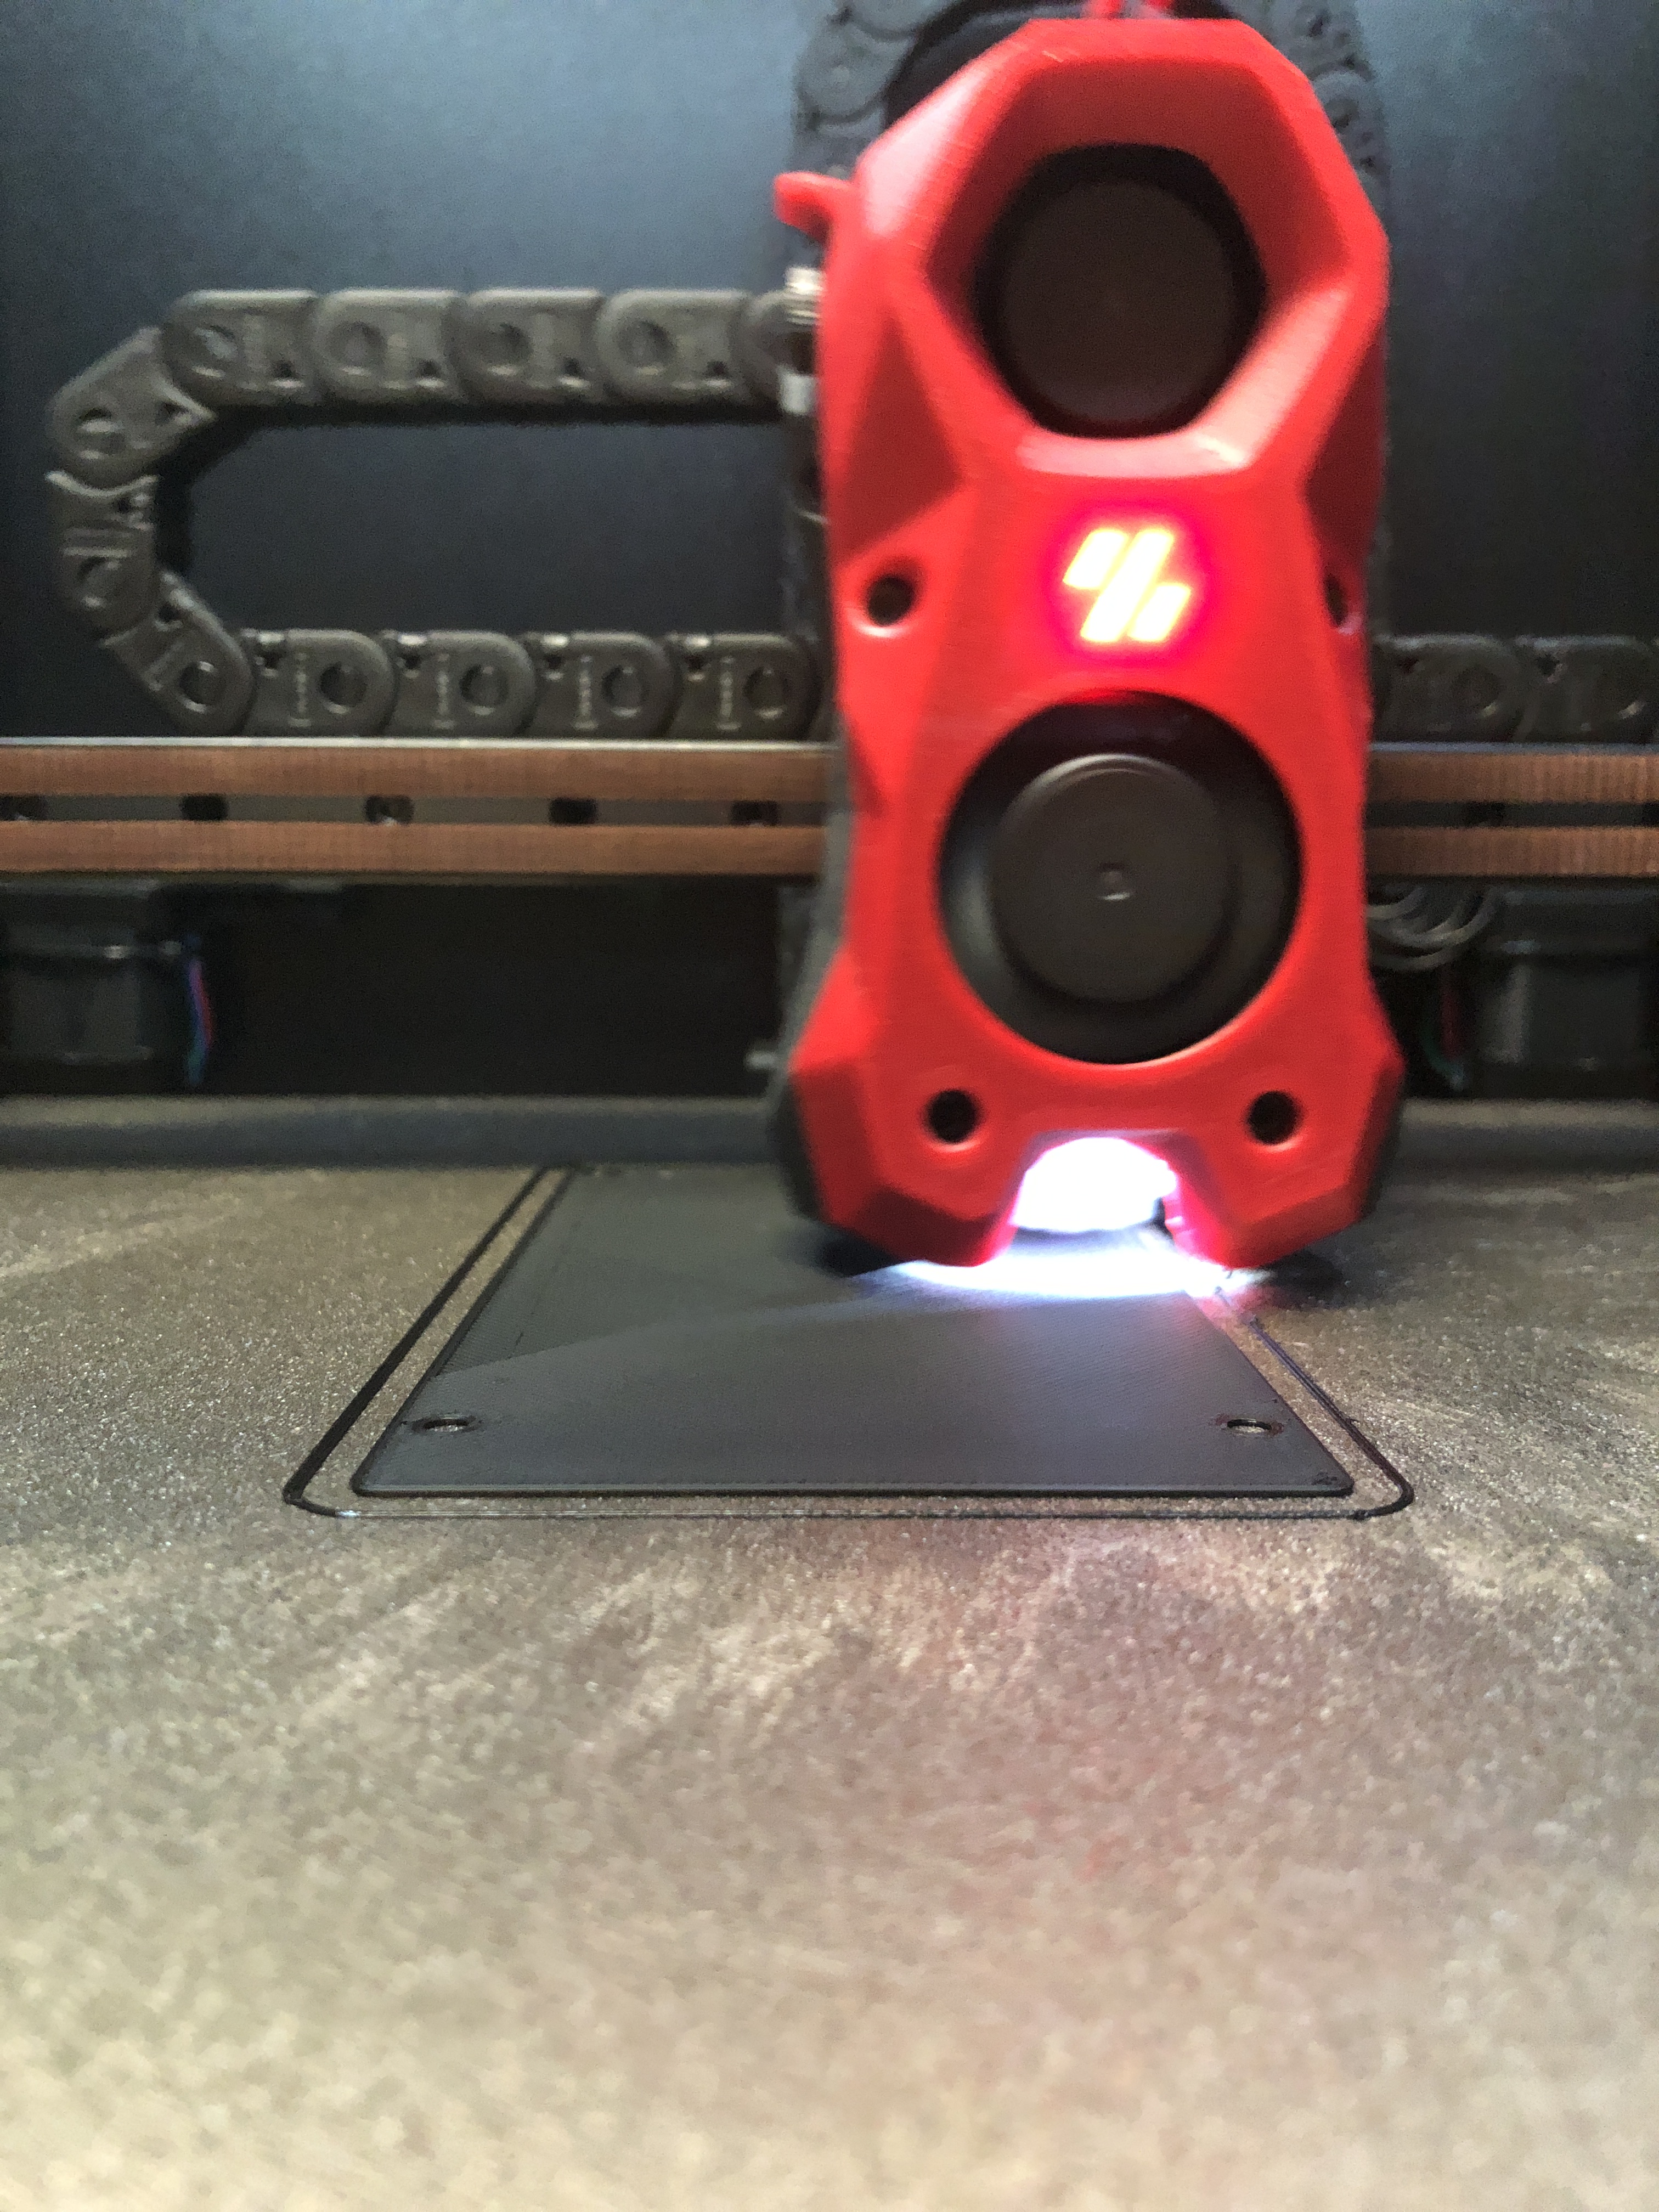
Print in progress.
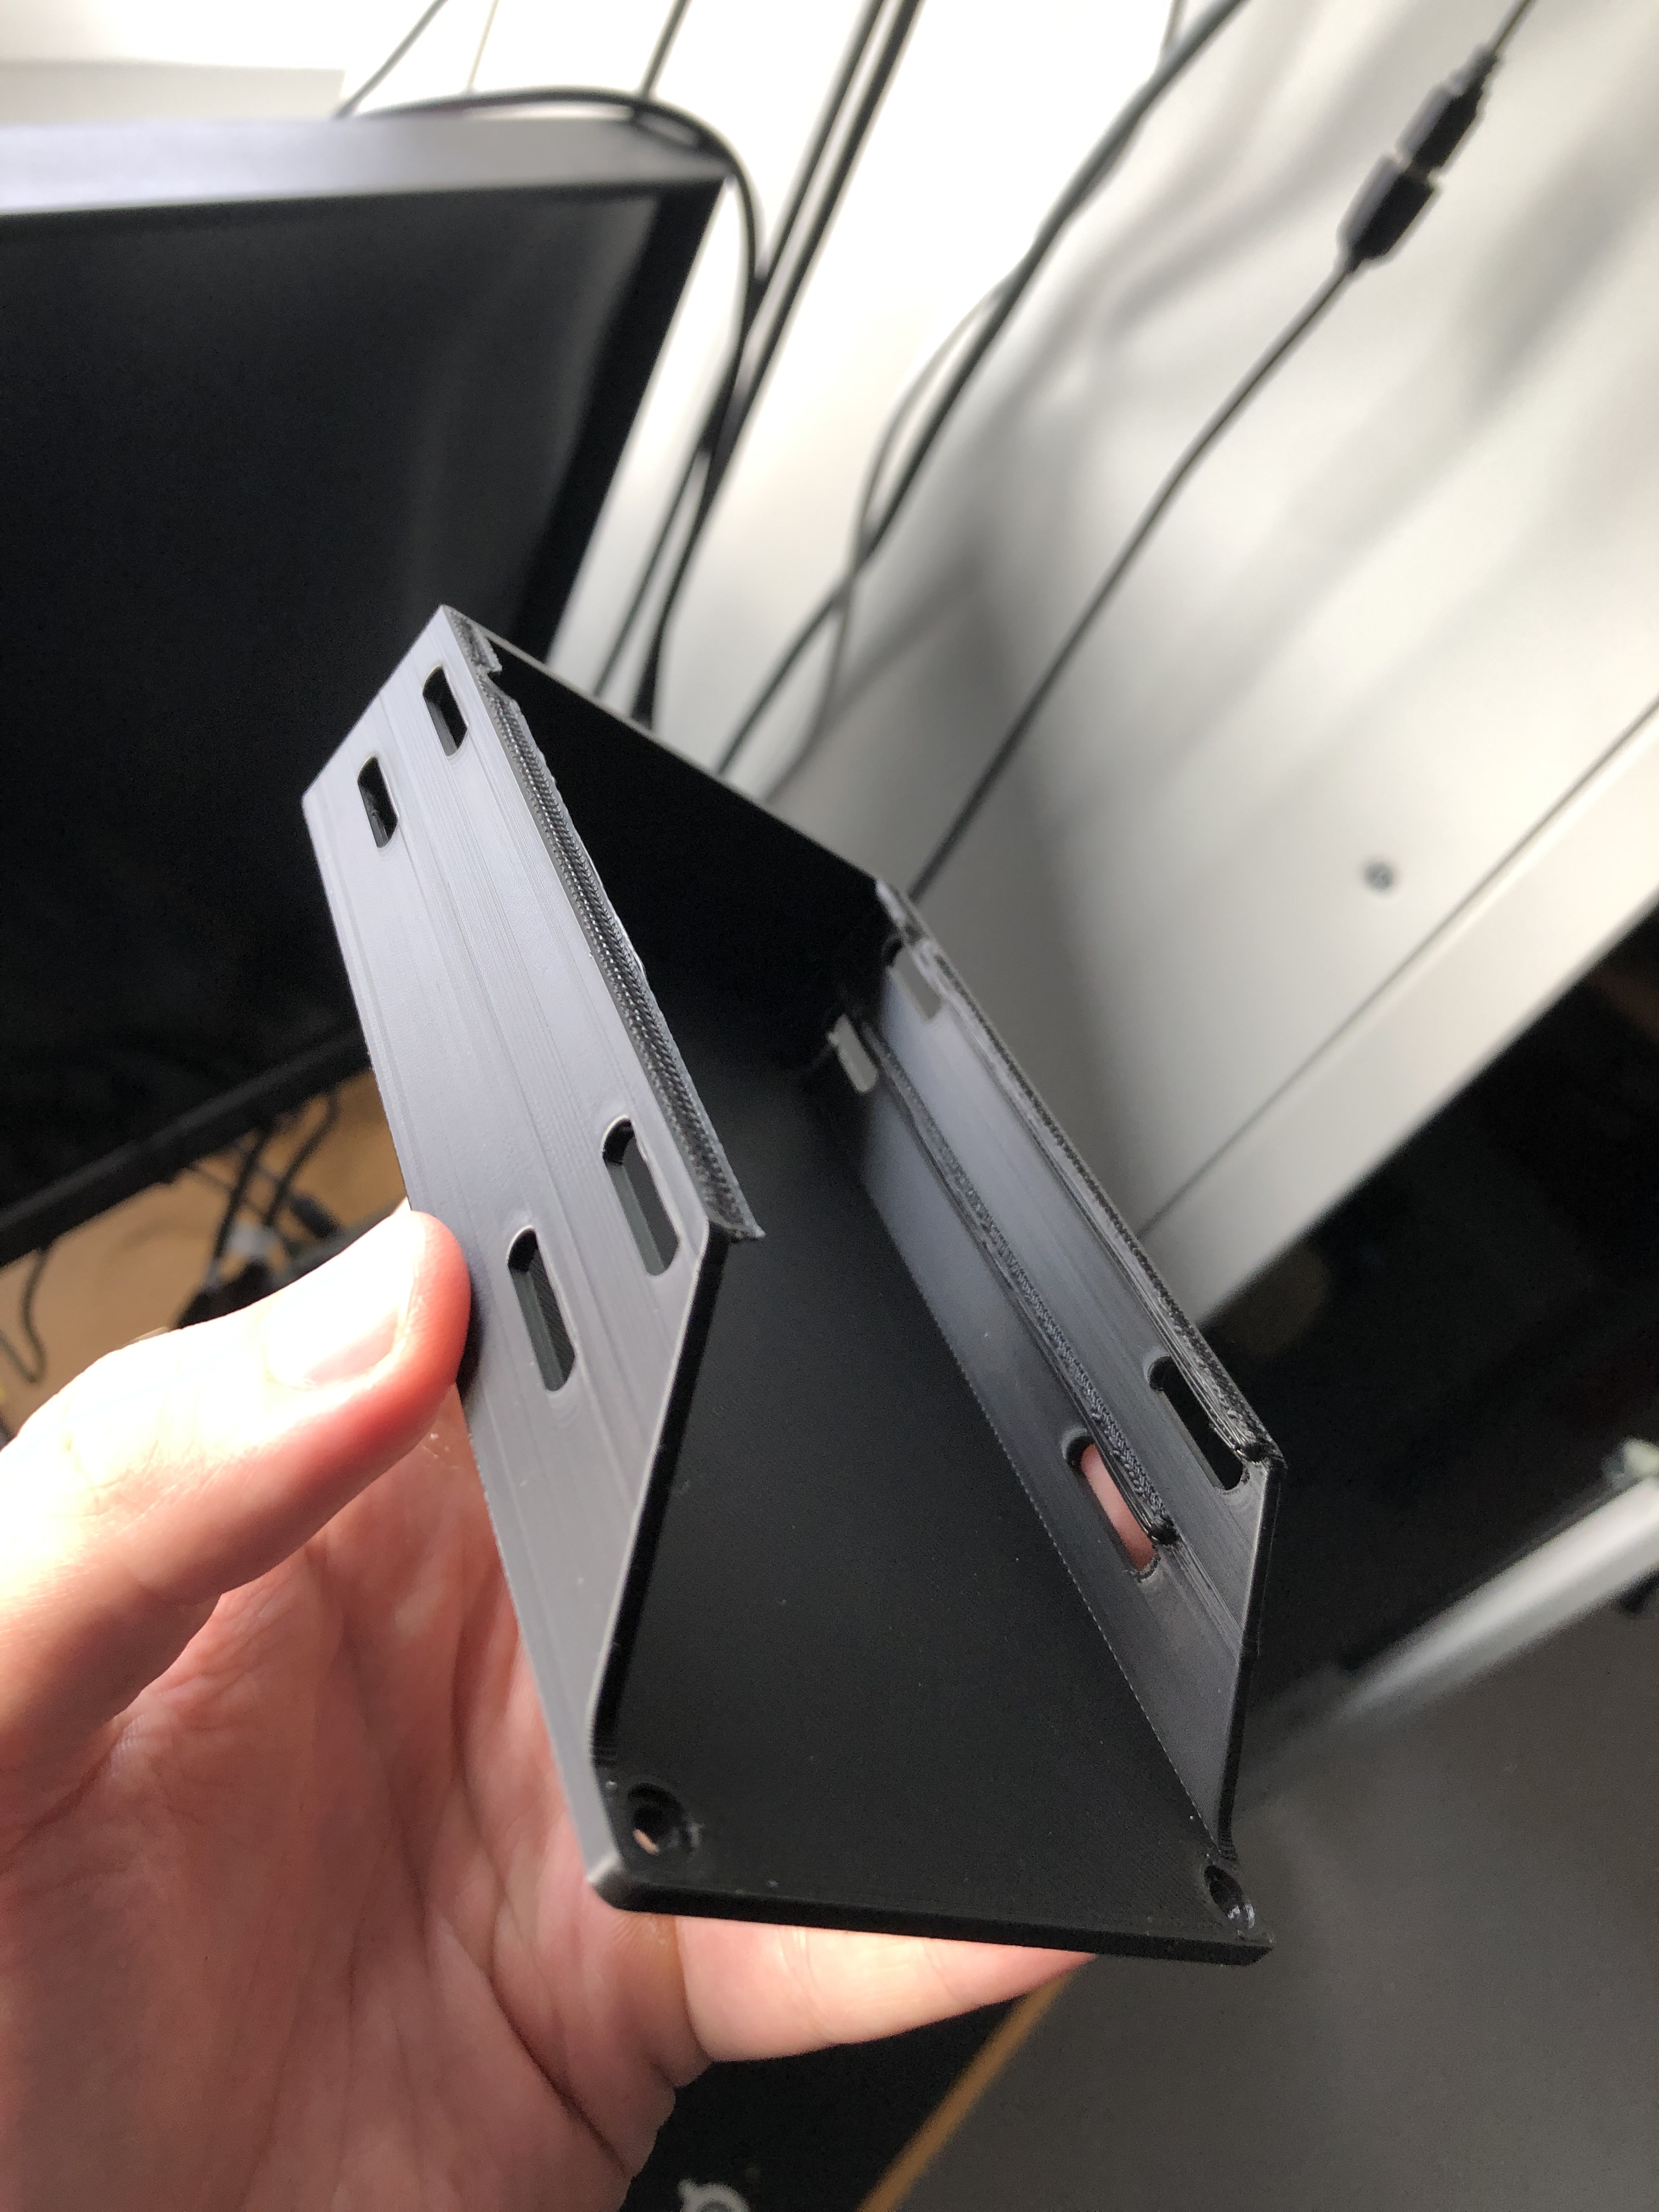
The final product
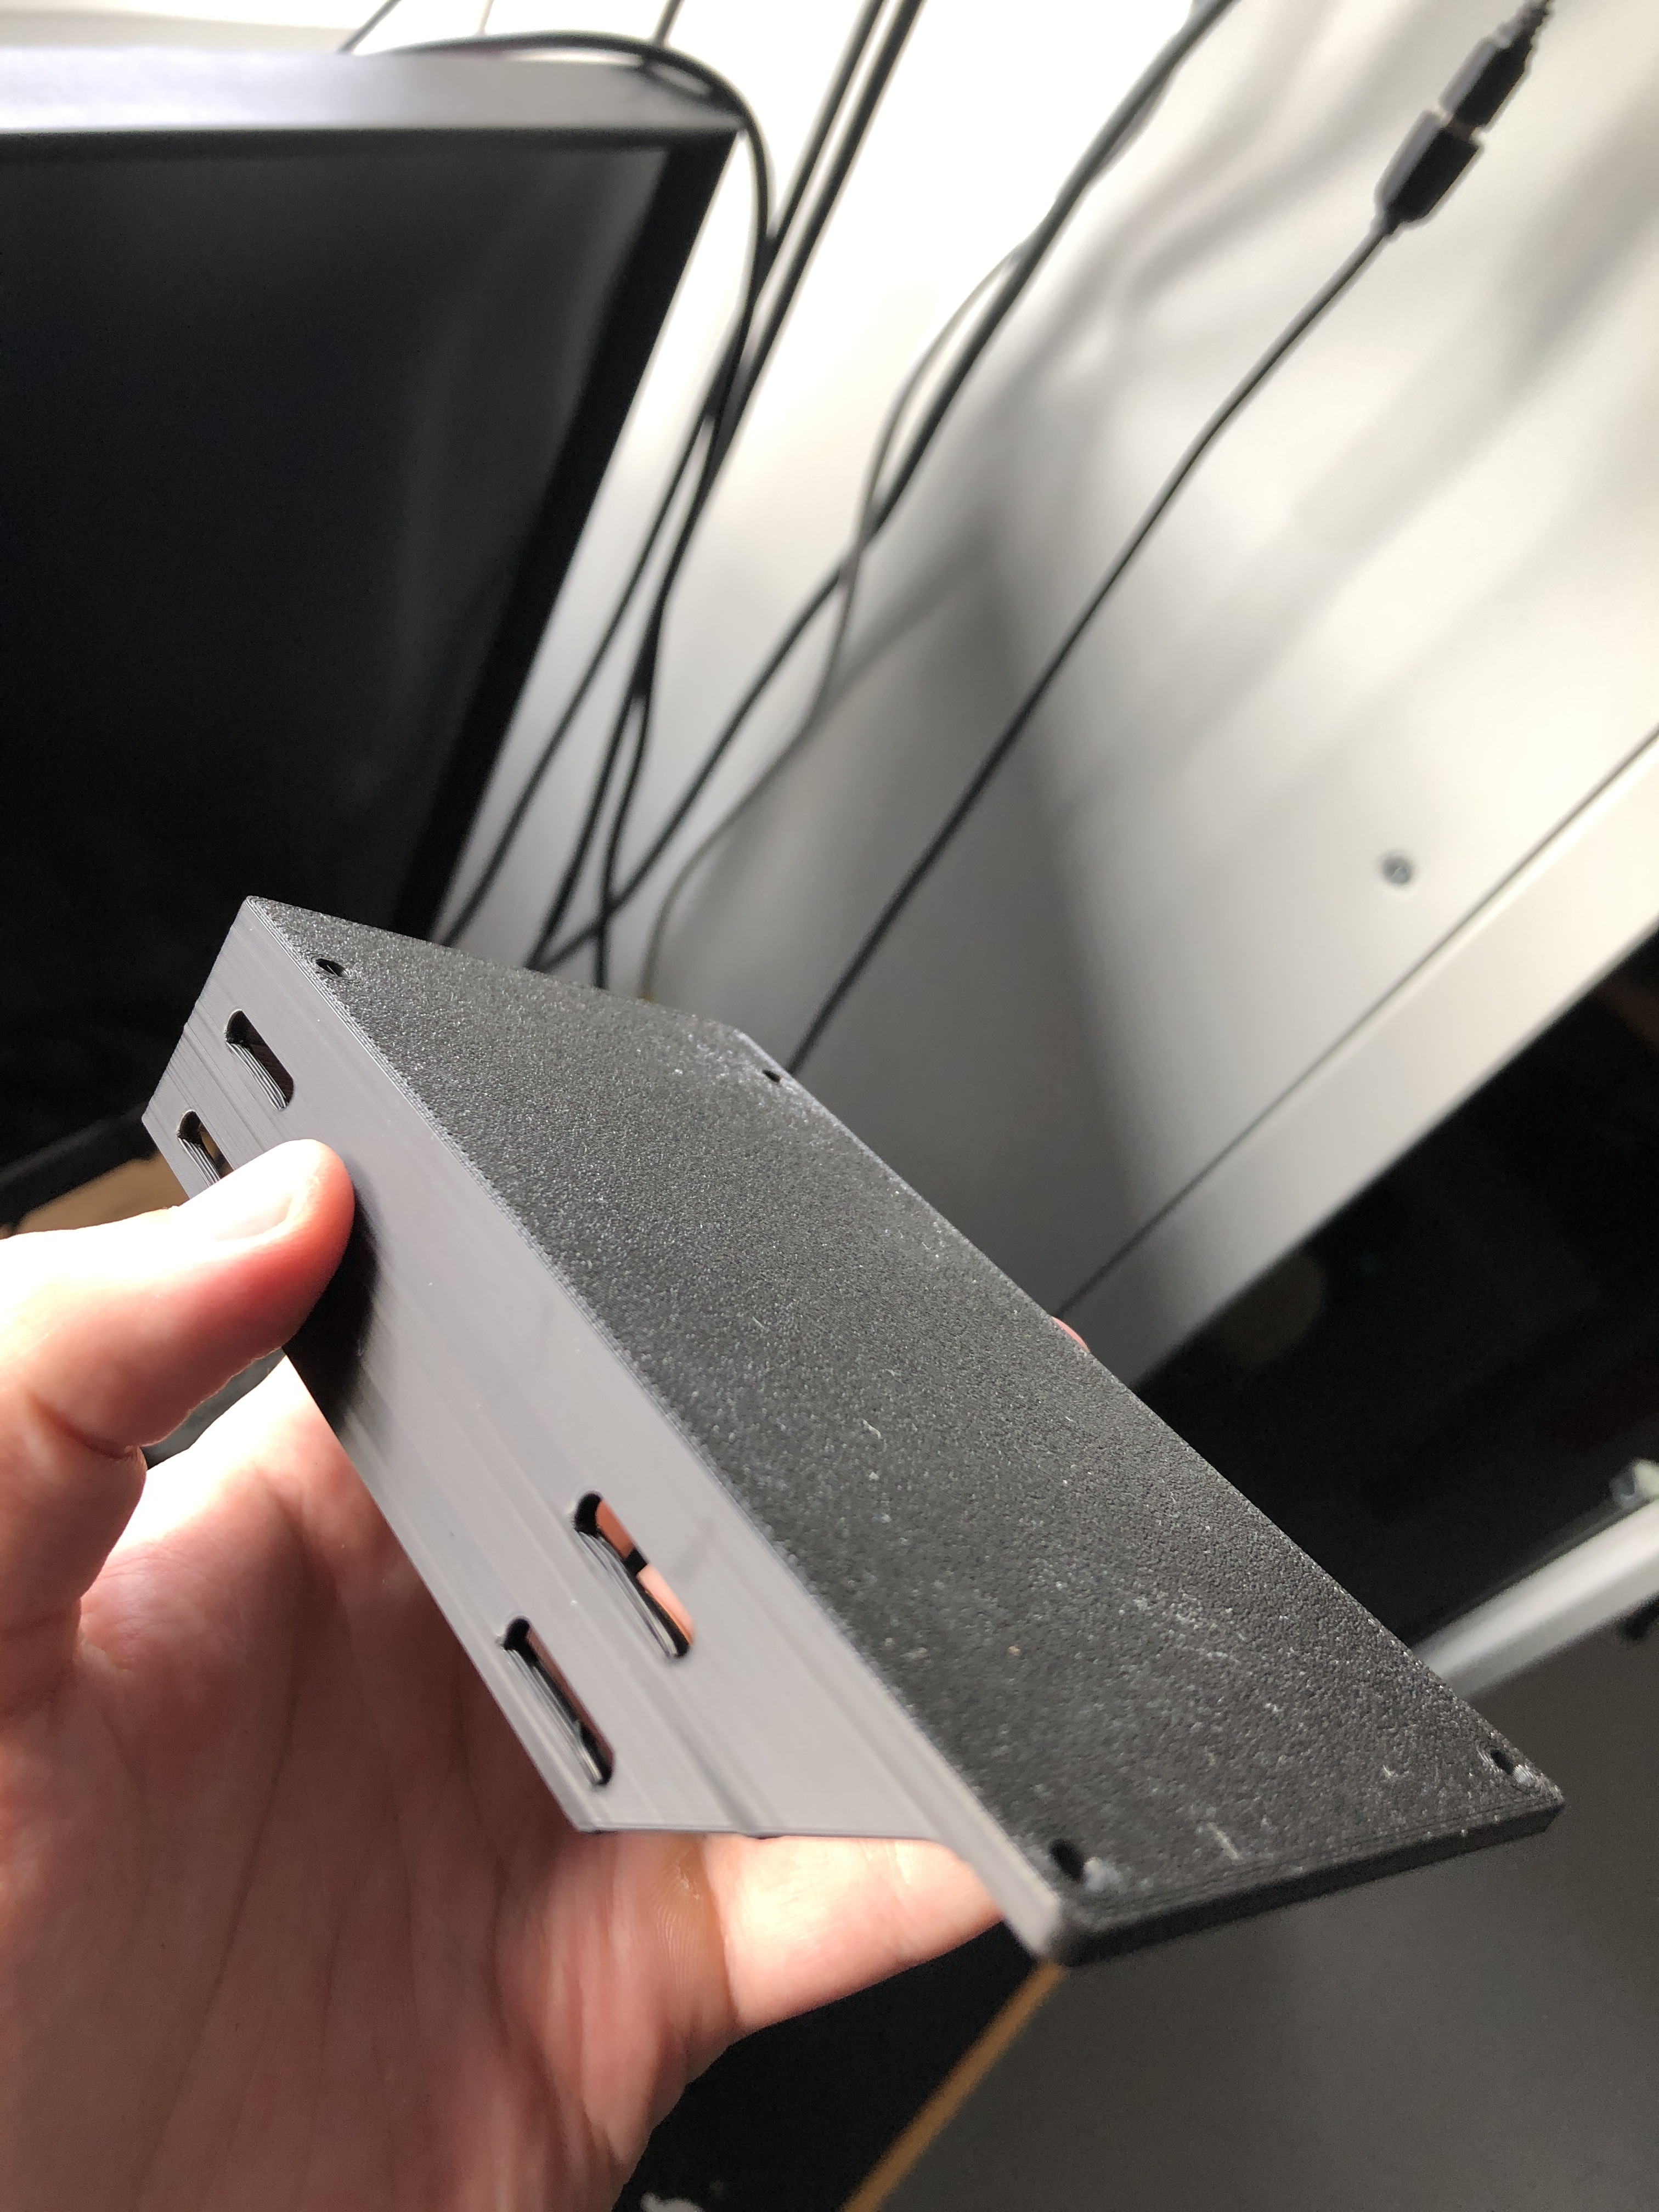
Another angle.
Some 3D printing related inconsistencies, but nothing serious.
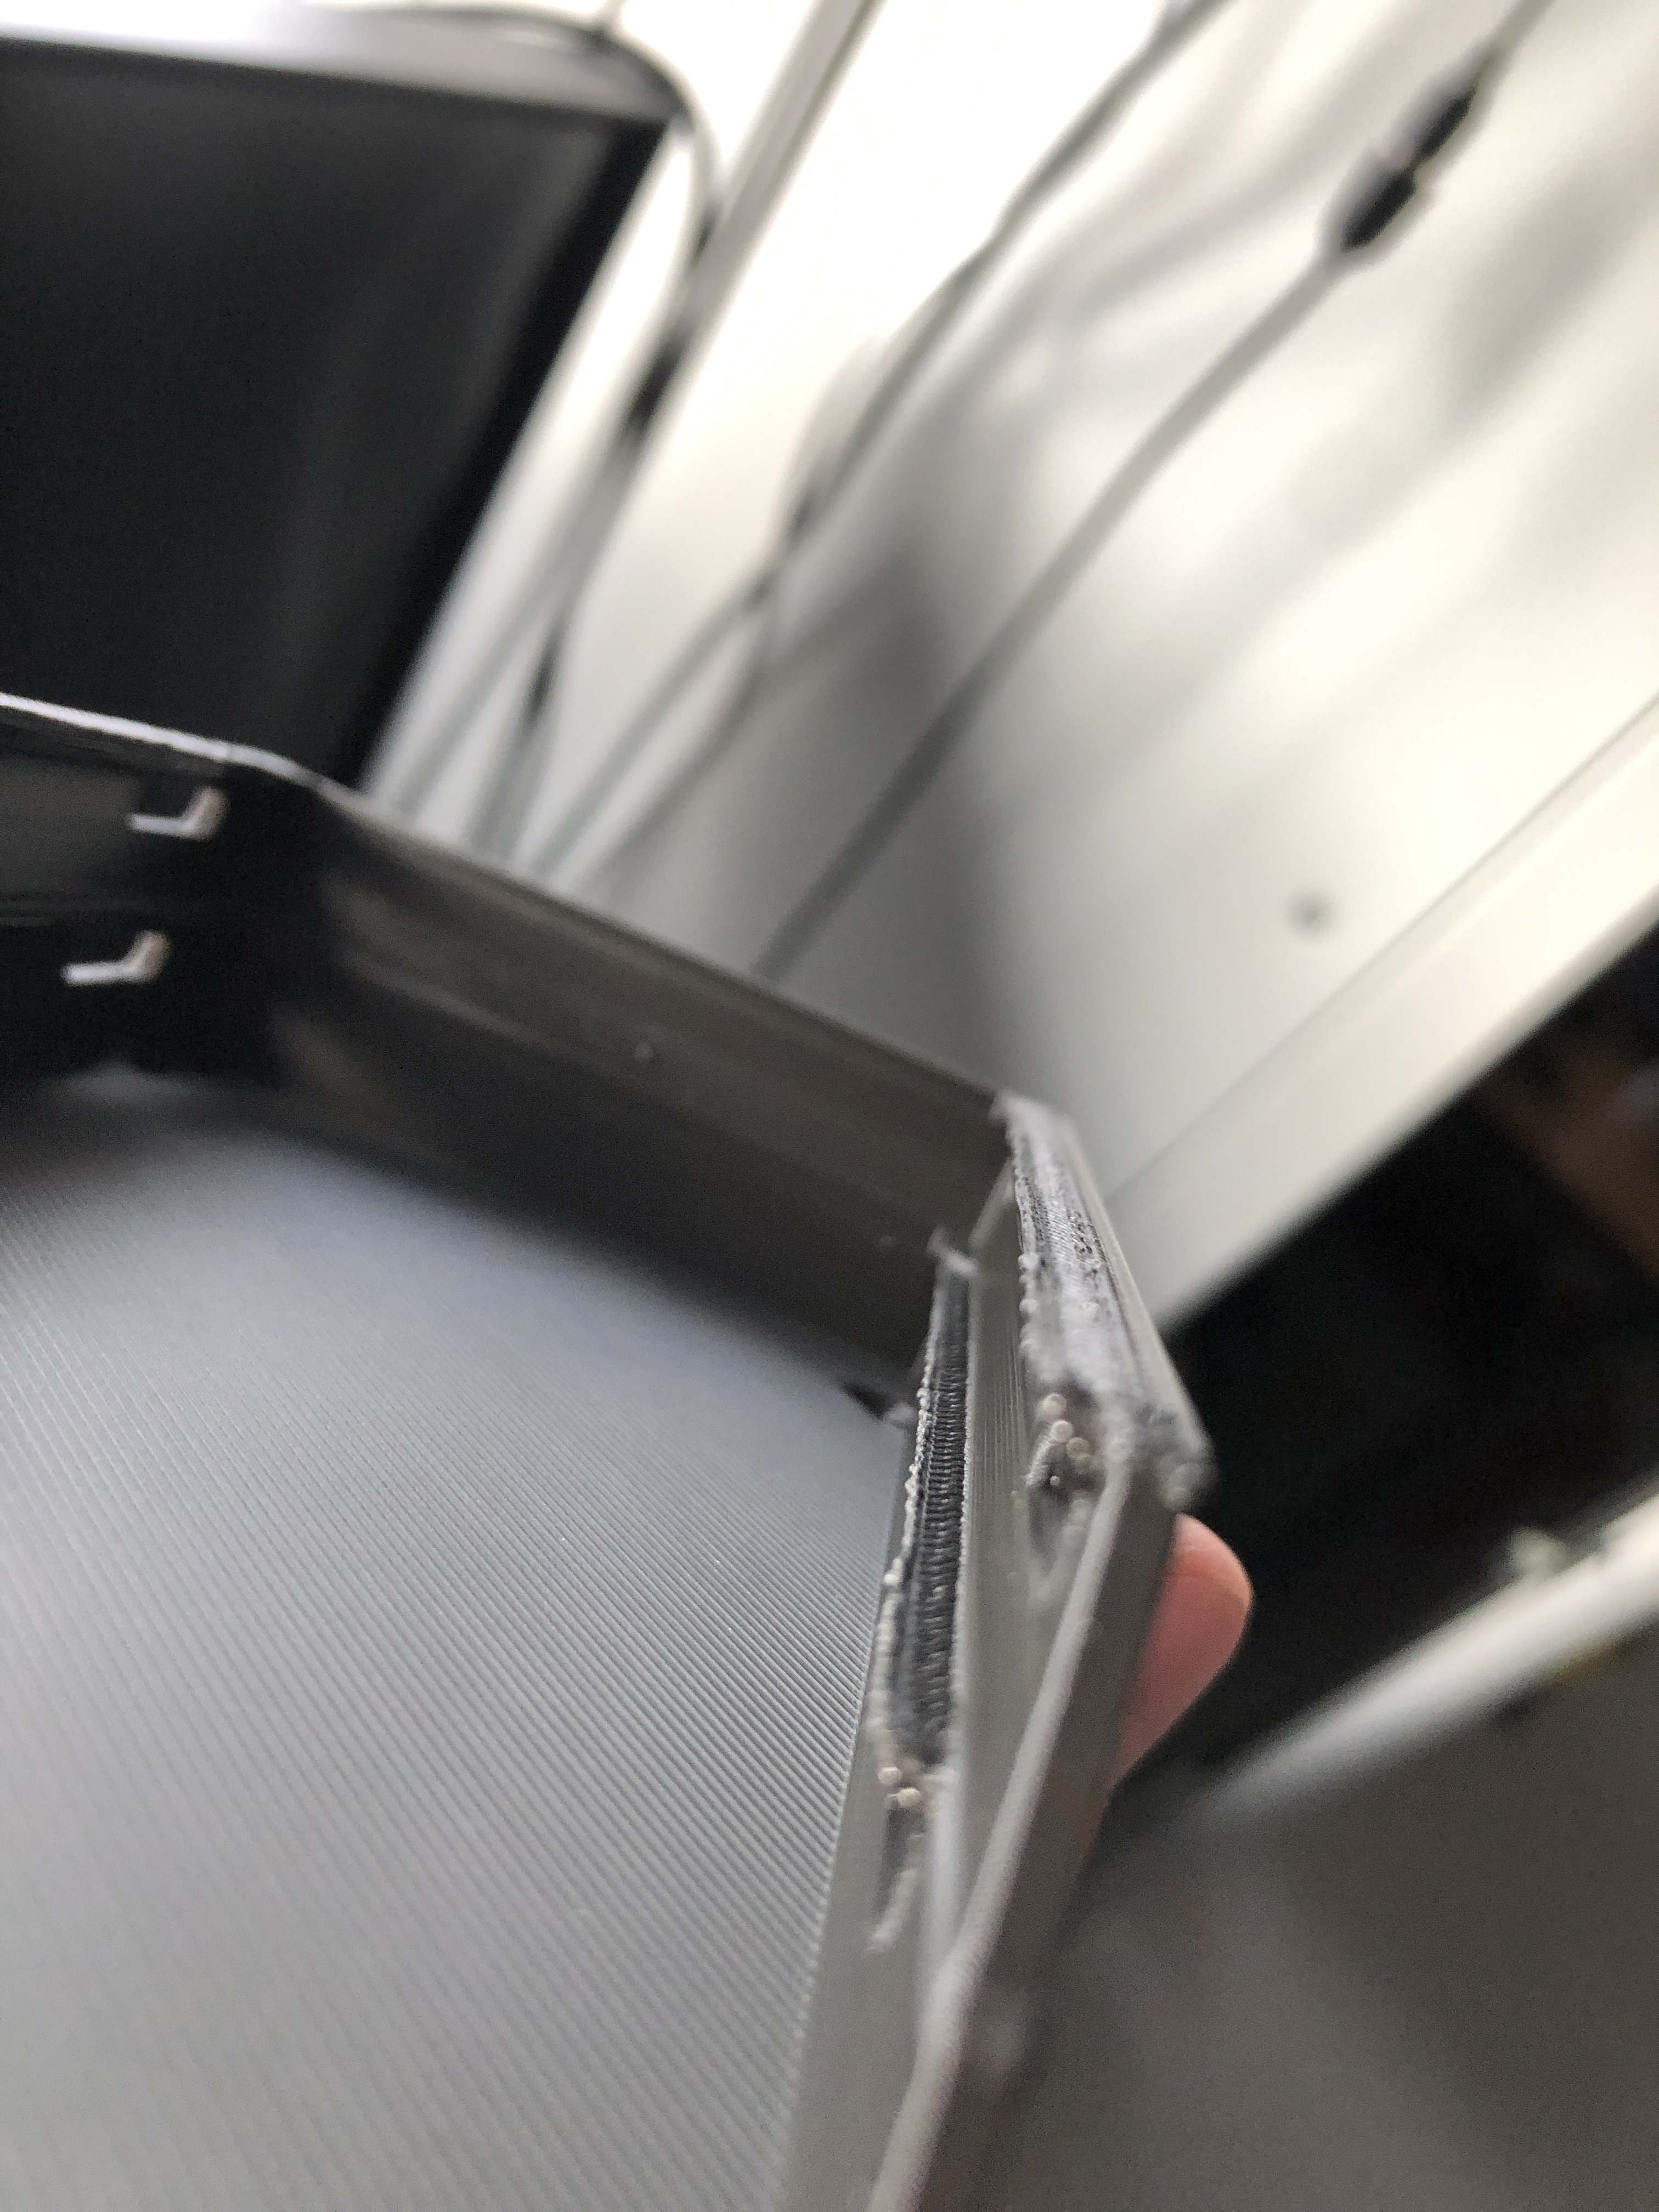
The SSD mounting holes were a bit finicky due
to slight printing errors, and during my first installation attempt I forgot to
put in the plastic middle layer of the case that’s between the PCB and the stock
bottom cover, but other than that the installation was a breeze.
Installation of the caddy requires removing the stock backplate and splitting it.
The finished result.