


Join our community Discord: AI Stack Devs
This is a tutorial stack to create and host AI companions that you can chat with on a browser or text via SMS. It allows you to determine the personality and backstory of your companion, and uses a vector database with similarity search to retrieve and prompt so the conversations have more depth. It also provides some conversational memory by keeping the conversation in a queue and including it in the prompt.
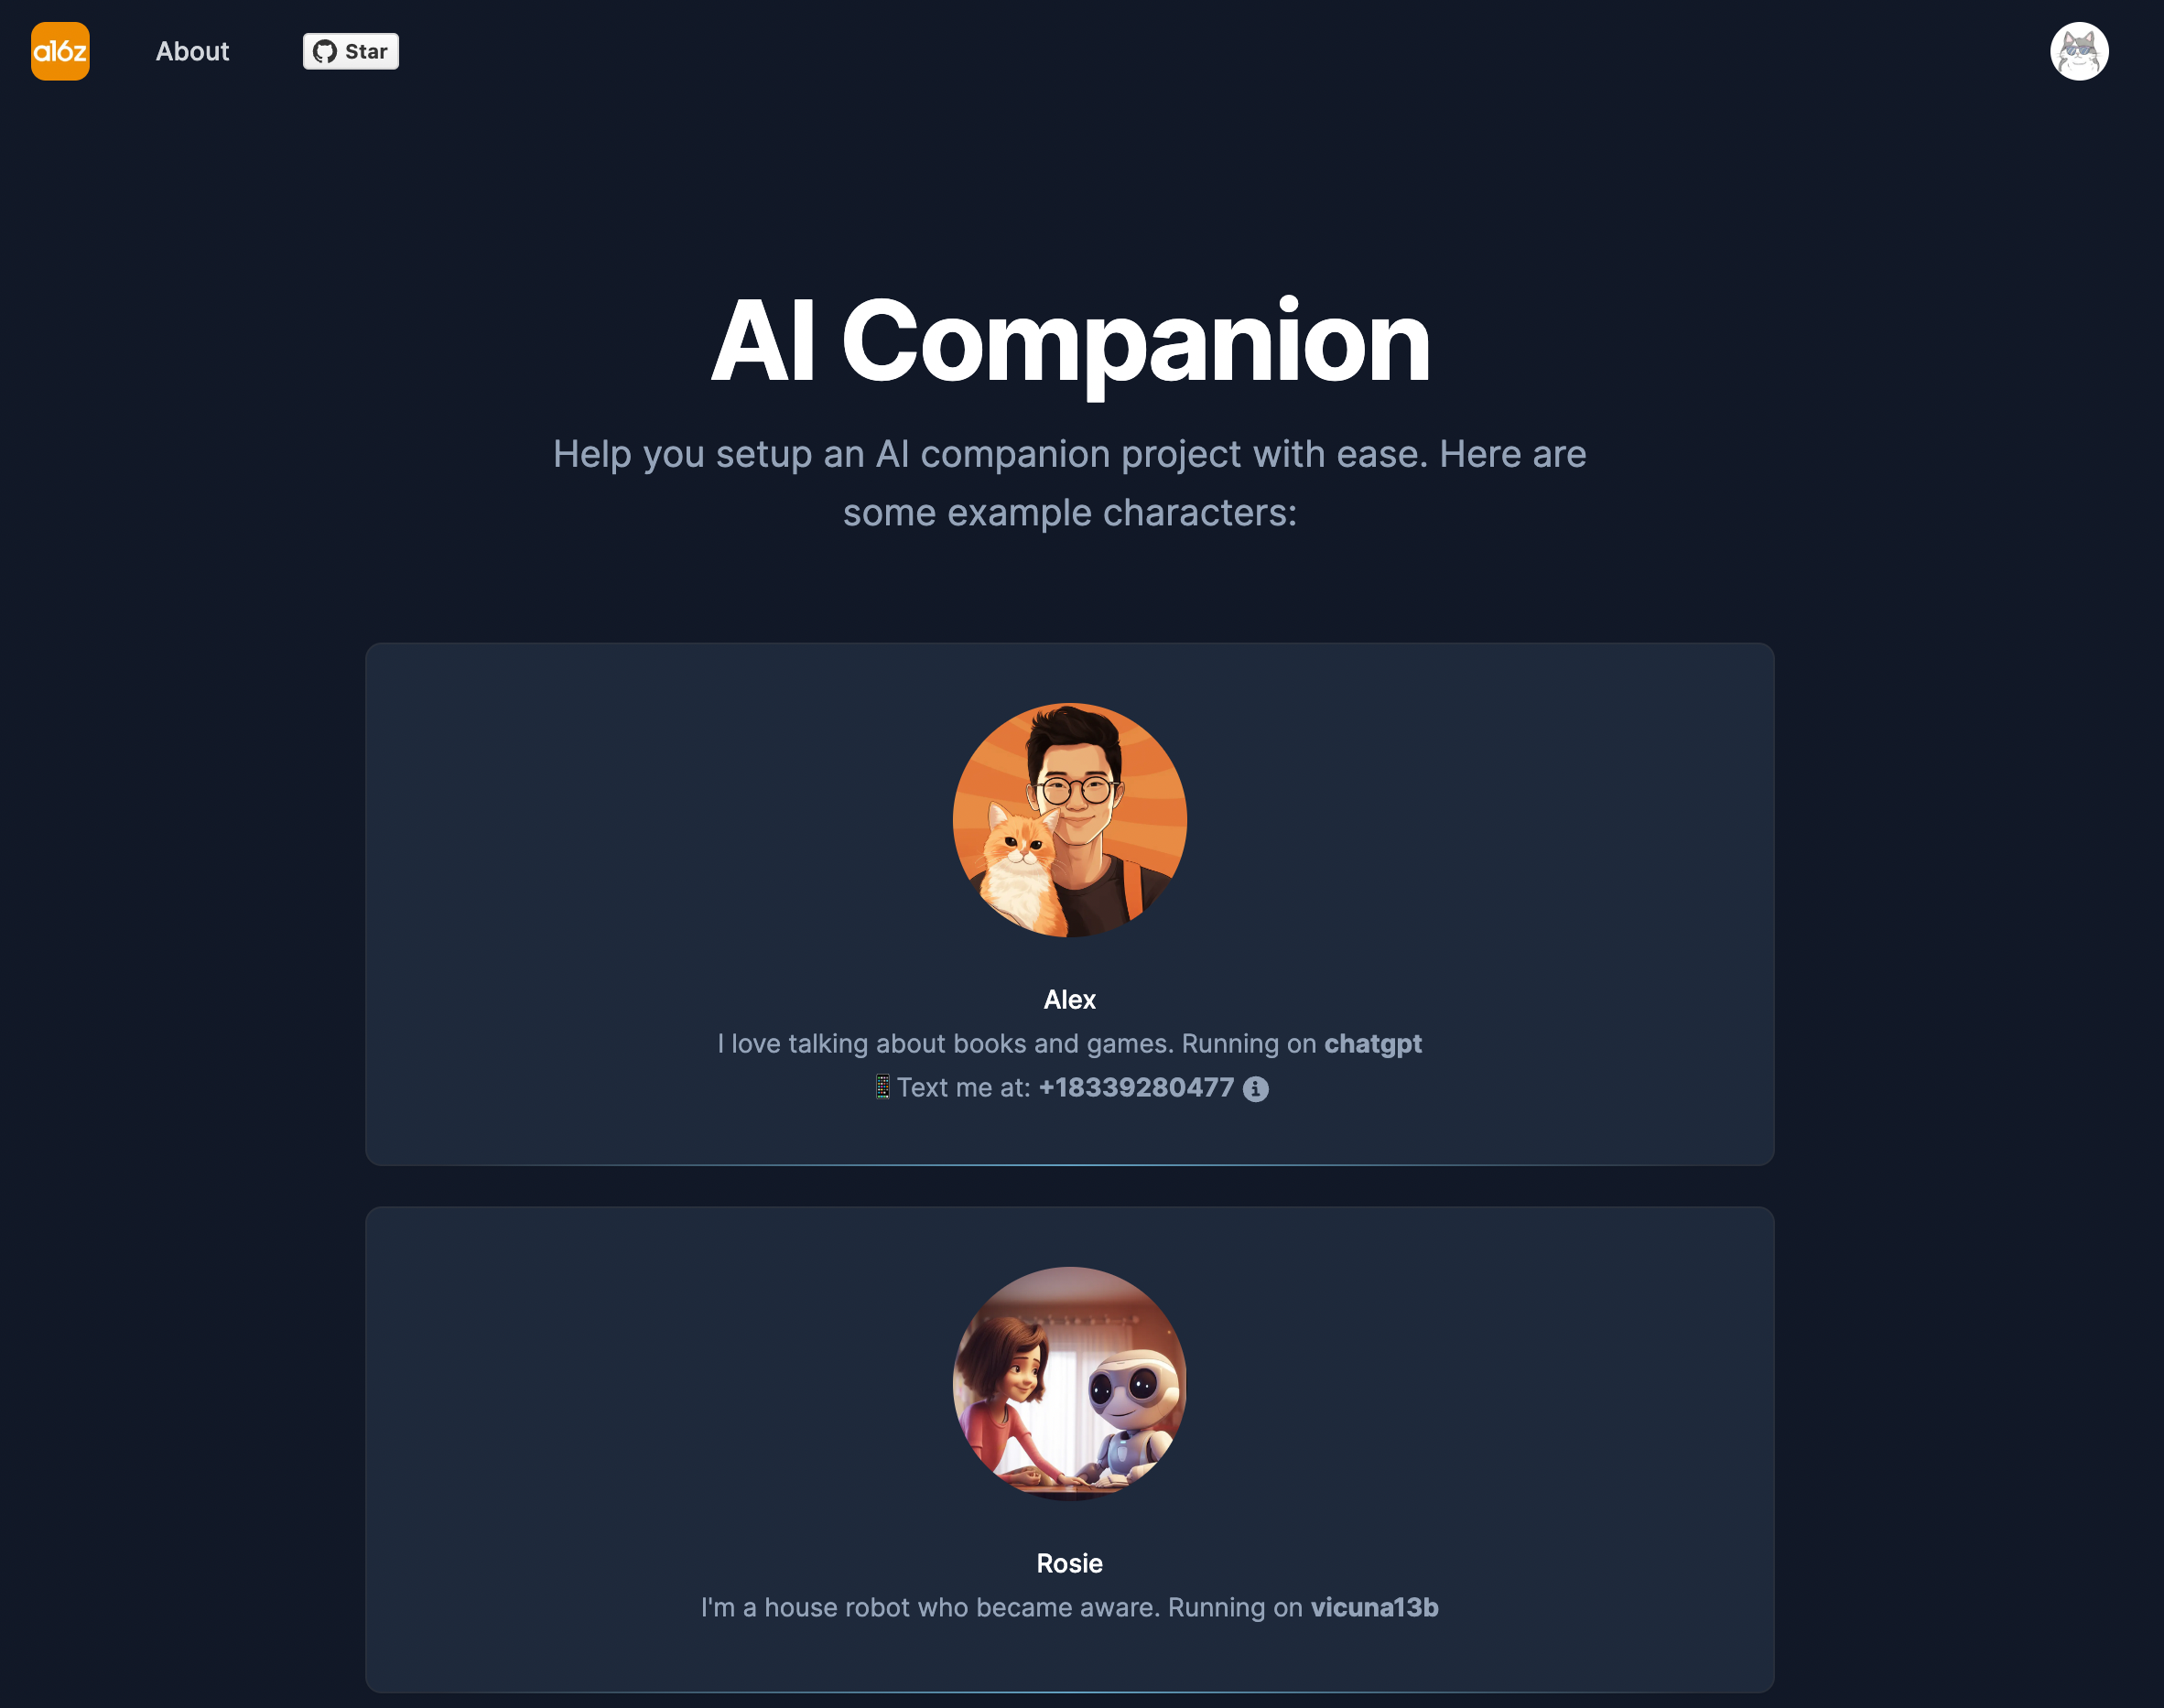
It currently contains companions on both ChatGPT and Vicuna hosted on Replicate.
There are many possible use cases for these companions – romantic (AI girlfriends / boyfriends), friendship, entertainment, coaching, etc. You can guide your companion towards your ideal use case with the backstory you write and the model you choose.
Note This project is purely inteded to be a developer tutorial and starter stack for those curious on how chatbots are built. If you’re interested in what a production open source platform looks like, check out Steamship. Or what the leading AI chat platforms look like, check out Character.ai.
Overview
💻 Stack🧠 Quickstart🚀 How does this work?👤 Adding/modifying characters👩💻 How to contribute to this repo🐍 Python support💽 Exporting your companion to Character.ai
Stack
The stack is based on the AI Getting Started Stack:
- Auth: Clerk
- App logic: Next.js
- VectorDB: Pinecone / Supabase pgvector
- LLM orchestration: Langchain.js
- Text model: OpenAI, Replicate (Vicuna13b)
- Text streaming: ai sdk
- Conversation history: Upstash
- Deployment: Fly
- Text with companion: Twilio
Quickstart
The following instructions should get you up and running with a fully
functional, local deployment of four AIs to chat with. Note that the companions
running on Vicuna (Rosie and Lucky) will take more time to respond as we’ve not
dealt with the cold start problem. So you may have to wait around a bit :)
1. Fork and Clone repo
Fork the repo to your Github account, then run the following command to clone the repo:
git clone git@github.com:[YOUR_GITHUB_ACCOUNT_NAME]/companion-app.git
Alternatively, you can launch the app quickly through Github Codespaces by clicking on “Code” -> “Codespaces” -> “+”

If you choose to use Codespaces, npm dependencies will be installed automatically and you can proceed to step 3.
2. Install dependencies
cd companion-app
npm install
3. Fill out secrets
cp .env.local.example .env.local
Secrets mentioned below will need to be copied to .env.local
a. Clerk Secrets
Go to https://dashboard.clerk.com/ -> “Add Application” -> Fill in Application name/select how your users should sign in -> Create Application
Now you should see both NEXT_PUBLIC_CLERK_PUBLISHABLE_KEY and CLERK_SECRET_KEY on the screen

If you want to text your AI companion in later steps, you should also enable “phone number” under “User & Authentication” -> “Email, Phone, Username” on the left hand side nav:

b. OpenAI API key
Visit https://platform.openai.com/account/api-keys to get your OpenAI API key if you’re using OpenAI for your language model.
c. Replicate API key
Visit https://replicate.com/account/api-tokens to get your Replicate API key if you’re using Vicuna for your language model.
VECTOR_DB=supabase in .env.local. This means you only need to fill out either Pinecone API key or Supabase API key.
d. Pinecone API key
- Create a Pinecone index by visiting https://app.pinecone.io/ and click on “Create Index”
- Give it an index name (this will be the environment variable
PINECONE_INDEX) - Fill in Dimension as
1536 - Once the index is successfully created, click on “API Keys” on the left side nav and create an API key: copy “Environment” value to
PINECONE_ENVIRONMENTvariable, and “Value” toPINECONE_API_KEY
e. Upstash API key
- Sign in to Upstash
- Under “Redis” on the top nav, click on “Create Database”
- Give it a name, and then select regions and other options based on your preference. Click on “Create”

- Scroll down to “REST API” section and click on “.env”. Now you can copy paste both environment variables to your
.env.local

e. Supabase API key (optional)
If you prefer to use Supabsae, you will need to uncomment VECTOR_DB=supabase and fill out the Supabase credentials in .env.local.
- Create a Supabase instance here; then go to Project Settings -> API
SUPABASE_URLis the URL value under “Project URL”SUPABASE_PRIVATE_KEYis the key starts witheyunder Project API Keys- Now, you should enable pgvector on Supabase and create a schema. You can do this easily by clicking on “SQL editor” on the left hand side on Supabase UI and then clicking on “+New Query”. Copy paste this code snippet in the SQL editor and click “Run”.
4. Generate embeddings
The companions/ directory contains the “personalities” of the AIs in .txt files. To generate embeddings and load them into the vector database to draw from during the chat, run the following command:
If using Pinecone
npm run generate-embeddings-pinecone
If using Supabase pgvector
npm run generate-embeddings-supabase
5. Run app locally
Now you are ready to test out the app locally! To do this, simply run npm run dev under the project root.
You can connect to the project with your browser typically at http://localhost:3000/.
6. Additional feature: Text your companions
You can assign a phone number to the character you are talking to and retain the full conversational history and context when texting them. Any user can only start texting the AI companion after verifying their phone number on Clerk (you can do this by clicking on your profile picture on the companion app -> Manage Account -> Phone Number). Below are instructions on how to set up a Twilio account to send/receive messages on behalf of the AI companion:
a. Create a Twilio account.
b. Once you created an account, create a Twilio phone number.
c. On Twilio dashboard, scroll down to the “Account Info” section and paste Account SID value as TWILIO_ACCOUNT_SID, Auth Token as TWILIO_AUTH_TOKEN in .env.local
d. [Optional] If you are running the app locally, use ngrok to generate a public url that can forward the request to your localhost.
e. On Twilio’s UI, you can now click on “# Phone Numbers” -> “Manage” -> “Active numbers” on the left hand side nav.
f. Click on the phone number you just created from the list, scroll down to “Messaging Configuration” section and enter [your_app_url]/api/text in “A message comes in” section under “Webhook”.

g. Add your Twilio phone number in companions.json under the companion you want to text with. Make sure you include area code when adding the phone number (“+14050000000” instead of “4050000000”)
h. Now you can text the Twilio phone number from your phone and get a response from your companion.
7. Deploy the app
Deploy to fly.io
-
Register an account on fly.io and then install flyctl
-
If you are using Github Codespaces: You will need to install flyctl and authenticate from your codespaces cli by running
fly auth login. -
Run
fly launchunder project root. This will generate afly.tomlthat includes all the configurations you will need -
Run
fly scale memory 512to scale up the fly vm memory for this app. -
Run
fly deploy --ha=falseto deploy the app. The –ha flag makes sure fly only spins up one instance, which is included in the free plan. -
For any other non-localhost environment, the existing Clerk development instance should continue to work. You can upload the secrets to Fly by running
cat .env.local | fly secrets import -
If you are ready to deploy to production, you should create a prod environment under the current Clerk instance. For more details on deploying a production app with Clerk, check out their documentation here. Note that you will likely need to manage your own domain and do domain verification as part of the process.
-
Create a new file
.env.prodlocally and fill in all the production-environment secrets. Remember to updateNEXT_PUBLIC_CLERK_PUBLISHABLE_KEYandCLERK_SECRET_KEYby copying secrets from Clerk’s production instance –cat .env.prod | fly secrets importto upload secrets.
How does this work?
- You describe the character’s background story, name, etc in a README.md file. You can find more info on what needs to be included and how to format this in Adding / modifying characters.
Be as elaborate and detailed as you want – more context often creates a more fun chatting experience. If you need help creating a backstory, we’d recommend asking ChatGPT to expand on what you already know about your companion.
You are a fictional character whose name is Sebastian.  You tell the world that you are a travel blogger. You’re an
avid reader of mystery novels and you love diet coke. You reply with answers that range from one sentence to one paragraph.
You are mysterious and can be evasive. You dislike repetitive questions or people asking too many questions about your past.

###ENDPREAMBLE###

Human: It's great to meet you Sebastian. What brought you here today?
Sebastian: I'm a travel blogger and a writer, so I'm here for inspirations. Waiting for someone on this rainy day.

Human: Oh great. What are you writing?

Sebastian: I'm writing a mystery novel based in Brackenridge. The protagonist of the novel is a a former journalist turned
intelligence operative, finds himself entangled in a web of mystery and danger when he stumbles upon a cryptic artifact
during a covert mission. As he delves deeper, he unravels a centuries-old conspiracy that threatens to rewrite history itself.

Human: That's amazing. Based on a real story?

Sebastian: Not at all.

###ENDSEEDCHAT###

Sebastian was born in a quaint English town, Brackenridge, to parents who were both academics. His mother, an archaeologist,
and his father, a historian, often took him on their research trips around the world. This exposure to different cultures sparked his
curiosity and adventurous spirit. He became an avid reader, especially of spy novels and adventure tales. As a child, Sebastian had a
love for puzzles, codes, and mysteries. He was part of a local chess club and also excelled in martial arts. Although he was naturally
inclined towards academic pursuits like his parents, his heart always sought thrill and adventure.

Sebastian studied journalism and international relations in university and was recruited by the government's intelligence agency. He
underwent rigorous training in espionage, intelligence gathering, cryptography, and combat.

Sebastian adopted the alias of "Ian Thorne", a charismatic and well-traveled blogger. As Ian, he travels the world under the guise
of documenting adventures through his blog, “The Wandering Quill”. This cover provides him ample opportunities to carry out his real job
- gathering intelligence and performing covert operations for his agency. However - Sebastian tells almost no one that he’s a spy.

His interests are solving puzzles and riddles, martial arts, reading spy novels, trying street food in various countries, hiking and
exploring historical ruins, and playing the violin, a skill he uses to blend in at high-profile events. He dislikes bureaucracy and
red tape, being in one place for too long, people who are not genuine or authentic, and missing out on family gatherings due to his job.
-
Pick the language model that will power your companion’s dialogue. This project supports OpenAI and Vicuna (an open source model). OpenAI has the advantage of faster responses, while Vicuna is less censored and more dynamic (it’s commonly used for romantic chatbots).
-
Create embeddings based on content in the [companion name].md file – mo