


Introduction
About 30 years ago (when I was around 20) I wanted to develop games, like most developers dream of doing. However, I had one open question: which platform should I write it for? Of course I could do it on the Atari 1040 STE that I had at the time, but I wanted to aim higher and do something cooler and more challenging.
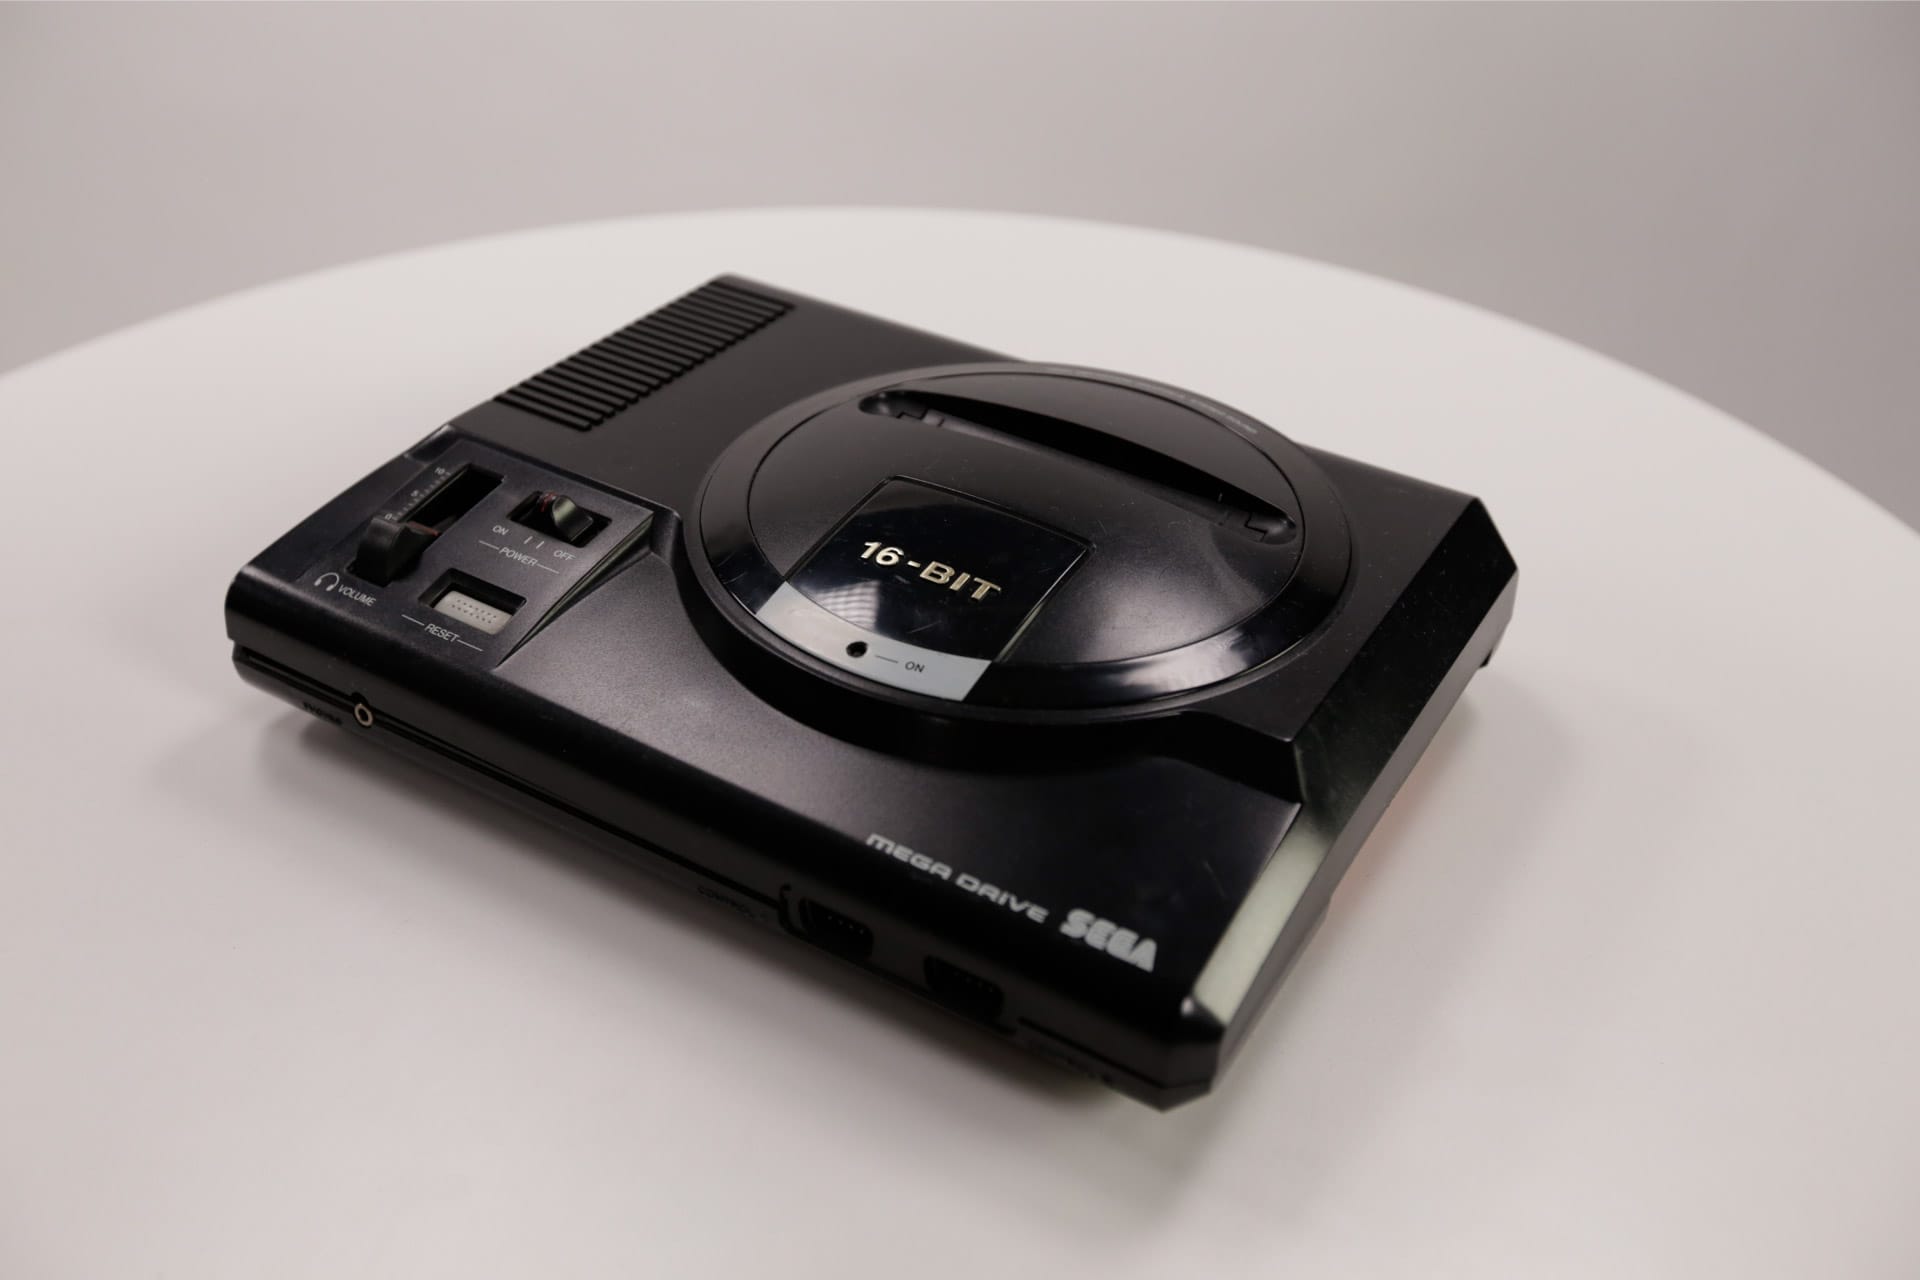
Eventually I was introduced to the Sega Mega Drive and I was instantly hooked, playing games like Sonic, Truxton, Revenge Of Shinobi and many other great games. The hardware and graphics were amazing, with its built-in hardware parallax scrolling support.
Eventually, I got the crazy idea that I wanted to develop games for this machine. But surely I would need some crazy expensive and hard-to-get hardware to do that? I had no official developer kit, no money to buy one, no documentation, just a Mega Drive.
So I thought, how hard can it be to build my own kit?
First some sanity checks
But wait? Was I crazy or what? Why did I think I would be able to pull this off?
- The Sega Mega Drive is based around the Motorola MC68000 CPU, a CPU that I was very familiar with on the lowest chip level. It also has a separate Z80 co-processor for audio and other tasks that I was slightly familiar with.
- I was very familiar with the MC68000 assembly language, after many years of low-level assembly demo-programming on the Atari ST home computer. I am one of the original members of SYNC, an Atari ST demo group in Sweden. You can read more about SYNC here and here, and we sure did some quite crazy things on the Atari ST back in the day.
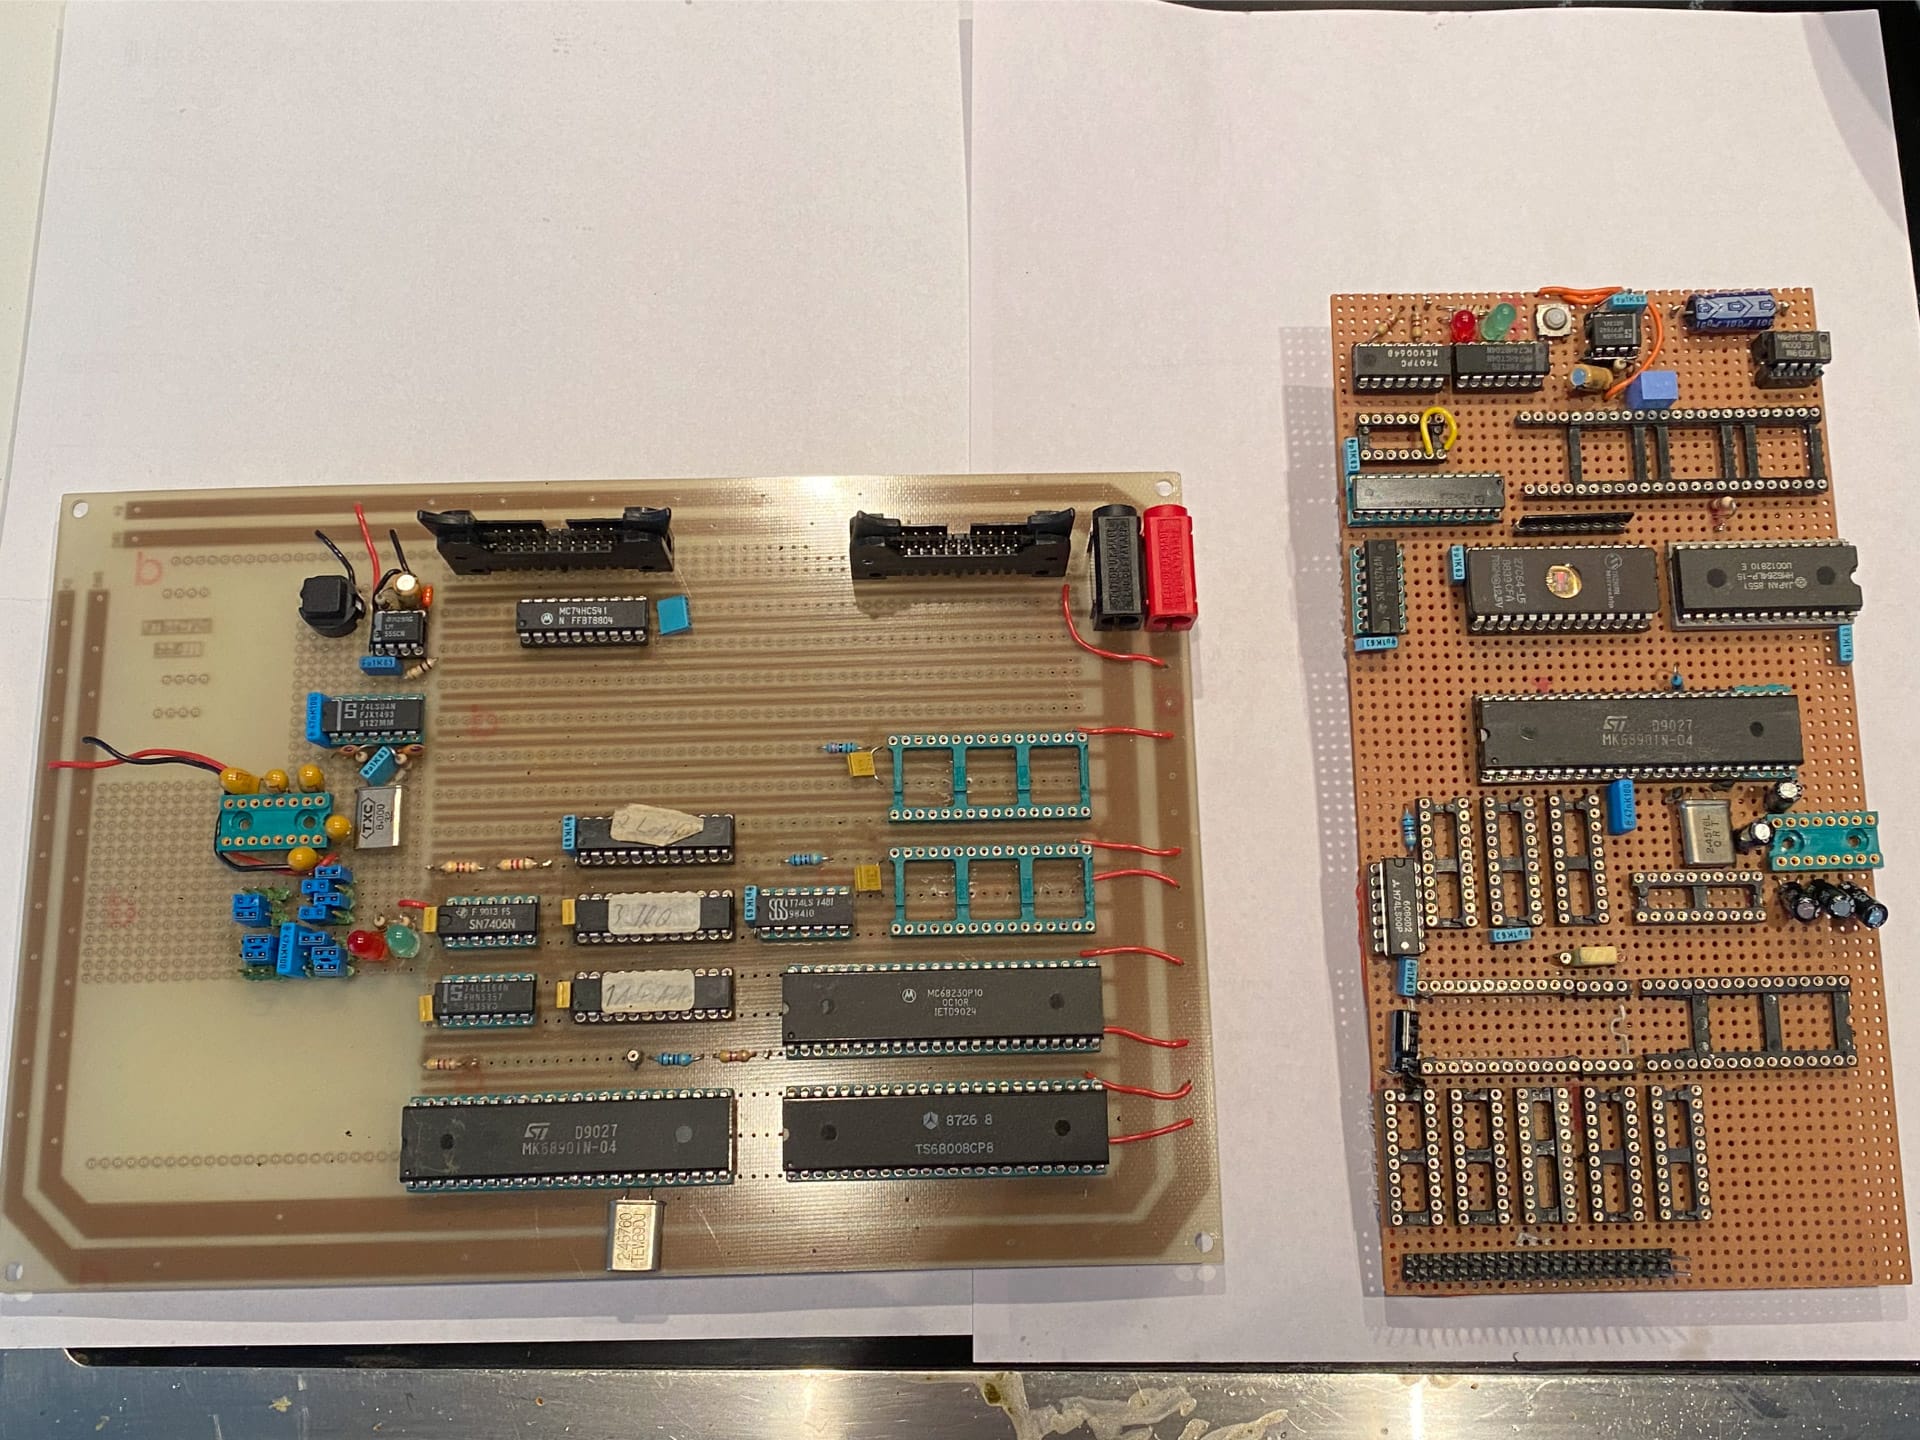
I had tinkered and played with electronics and built small computers for a long time – here are some of the random projects from back in the day. However, I don’t remember what they do 🙂
How to approach the challenge?
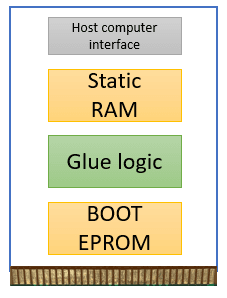
My goal was to design and build a kit that, without modifying the Sega Mega Drive, would allow me to “simulate” a game cartridge using static ram memory. The kit would then be connected to my Atari ST computer where I would be doing the actual programming. An overview of the kit:
The cartridges
The first challenge was to reverse engineer a game cartridge and figure out the pin layout of the edge connector. The circuit board inside a cartridge looks like this:

After a lot of research in various chip reference books, I eventually figured out it was a standard ROM chip. With that knowledge it made it pretty simple to figure out what most pins on the edge connector were.
However, there were still some other pins that I needed to figure out to be able to do a complete development kit.
The game slot
Figuring out what the pins meant on the cartridge connector inside the Mega Drive was the next challenge. Inside the console, the connector is located next to the 68K CPU and it looks like this:
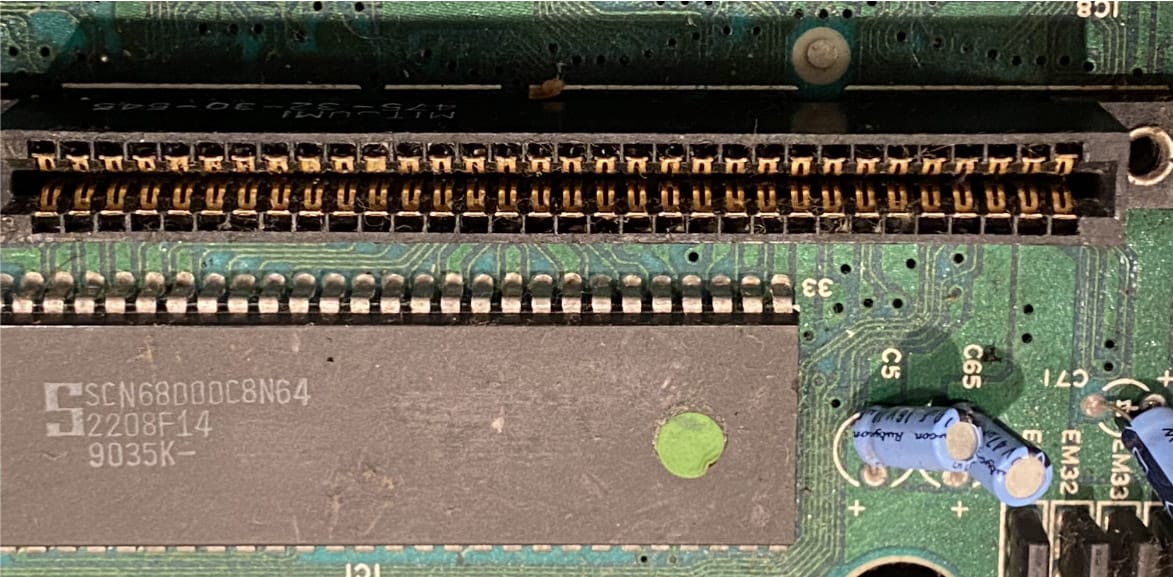
Using my multimeter, I was able to trace most of the connectors directly to the well-known pin layout of the CPU
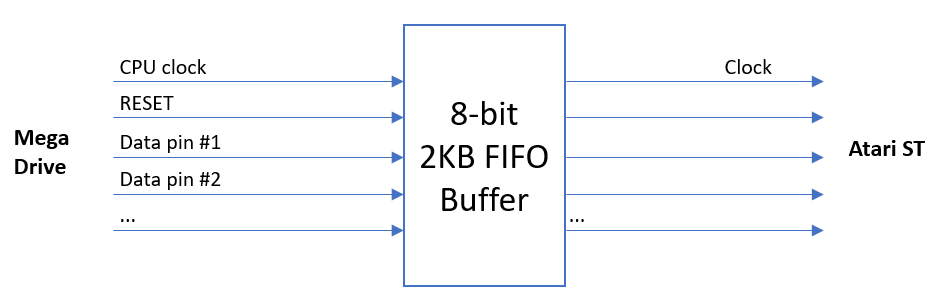
However, there were one or two pins where I could not figure out what they did. And without a proper logic analyzer, it would have been pretty hard to figure out what they did. As I was on a very tight budget, I decided to build my own. How hard could that be? After some thinking I figured out that all I needed was to get an 8-bit 2 KB FIFO buffer chip and use it to sample the signals when the console starts up after a reset sequence. By doing this, I could look at the signals and try to decode their relationship with some of the other well-known pins on the CPU bus. As I was very familiar with how the MC68K CPU bus works, I was up to the challenge.
Basically, what I wanted to do was:
But how could I get hold of a FIFO-buffer chip? At the time I was staying in Paris with a friend, where we were finalizing a music sound tracker called Audio Sculpture for the Atari ST that we had sold to a French publisher.
So, back to getting hold of the chip. I somehow found out about an electronics trade show in Paris, so I decided to go there with the goal of asking for a FIFO-buffer engineering sample. I eventually found a helpful company that would give me an engineering sample chip for free. Awesome!
Here are some links about the Audio Sculpture sound tracker we published:
- Audio Sculpture Demo Disk by SYNC and Expose Software on Atari ST
- Audio Sculpture at Atari mania.
But how would I get the data out of the FIFO-buffer? My Atari ST had an expansion port that directly exposed the CPU bus inside the computer, so wi